Maintaining your vehicle’s engine oil is crucial for its longevity and performance. Many drivers, however, find the process of checking their car’s oil level to be somewhat mysterious. At keyfobx.com, we believe that basic car maintenance should be accessible to everyone. This guide will walk you through the simple steps of checking your oil, ensuring your engine stays properly lubricated and runs smoothly.
Why is checking your car oil important? Engine oil is the lifeblood of your vehicle’s engine. It lubricates the moving parts, reduces friction, dissipates heat, and helps to remove debris. Regularly checking your oil level and condition can help you detect potential problems early, preventing costly engine repairs down the road. Low oil levels can lead to increased engine wear, overheating, and even engine failure.
Fortunately, checking your engine oil is a straightforward task you can easily perform at home. While some newer vehicles are equipped with electronic oil monitoring systems on the dashboard, knowing how to manually check your oil with a dipstick is a valuable skill for every car owner.
Here’s a step-by-step guide to checking the oil in your car:
-
Gather Your Supplies: Before you begin, you’ll need a few simple items:
- A rag or paper towel – Oil can be messy, so having something to wipe the dipstick and your hands is essential.
-
Prepare Your Vehicle: Proper preparation is key for an accurate oil reading and your safety:
- Park on Level Ground: Ensure your car is parked on a level surface. This will provide an accurate oil level reading. Uneven ground can cause the oil to pool unevenly, giving you a false reading.
- Engine Off and Cool (or Warm, depending on your car): Turn off your engine completely. For most vehicles, it’s best to check the oil when the engine is cold, as this allows all the oil to drain back into the oil pan, providing a more accurate reading. However, some manufacturers recommend checking the oil when the engine is warm. Always consult your owner’s manual for the specific recommendation for your car make and model. Checking a hot engine can also be a burn hazard, so exercise caution if checking a warm engine.
-
Locate the Oil Dipstick:
- Open the Hood: Safely open your car’s hood and secure it in the open position.
- Identify the Dipstick: The oil dipstick is typically easy to spot in the engine bay. Look for a handle that is brightly colored, usually yellow or orange, and often has an oil can symbol on it. It’s usually located near the engine block. If you are unsure, your owner’s manual will clearly indicate its location.
-
The Dipstick Test:
- Pull and Wipe: Carefully pull the dipstick straight out of its tube. Use your rag or paper towel to wipe all the oil off the dipstick. This initial reading is usually messy and not accurate.
- Re-insert and Remove: Fully re-insert the dipstick back into its tube, pushing it all the way down until it is seated properly. Then, pull it out again, slowly and steadily.
- Read the Oil Level: Hold the dipstick horizontally and observe the oil mark at the end.
-
Interpreting the Dipstick Reading: Dipsticks are designed to clearly indicate the proper oil level. You’ll typically see one of the following types of markings:
- Two Pinholes or Notches: These indicate the minimum and maximum oil levels. The oil level should be between these two marks.
- “L” and “H” or “MIN” and “MAX”: “L” or “MIN” stands for low or minimum, and “H” or “MAX” represents high or maximum. The oil streak should be somewhere between these markings.
- Crosshatched Area: This textured area indicates the acceptable oil level range. As long as the top edge of the oil streak falls within this crosshatched area, your oil level is generally good.
If the oil level is at or below the “L” or “MIN” mark, or below the lower pinhole or crosshatch boundary, your car needs more oil.
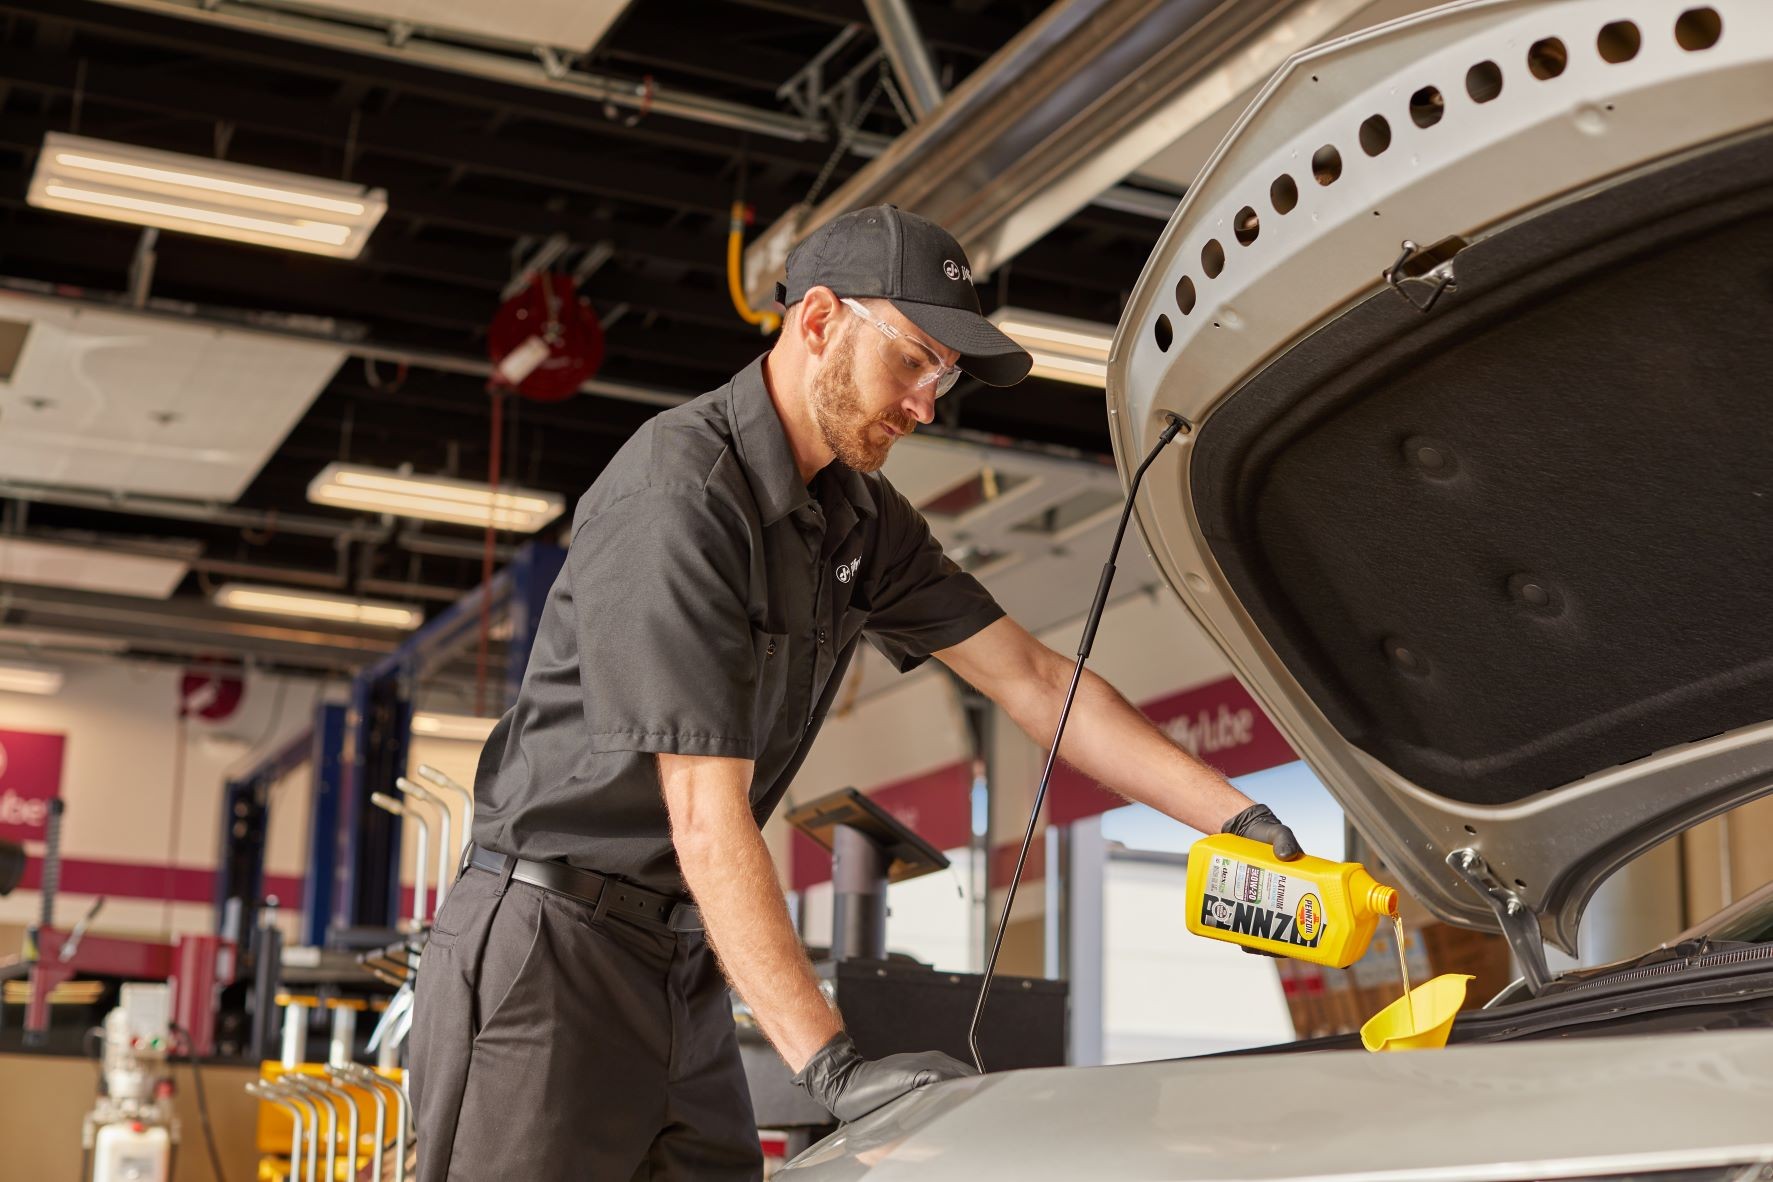 Car mechanic checking engine oil level with dipstick during routine vehicle maintenance at Jiffy Lube for optimal engine health
Adding Oil If Needed:
If your dipstick reading indicates low oil, you’ll need to add some. Here’s how to top off your engine oil:
- Identify the Correct Oil Type: Consult your owner’s manual or the sticker often found on the oil filler cap or inside the driver’s side doorjamb to determine the correct oil grade for your vehicle (e.g., 0W-20, 5W-30). Using the wrong type of oil can harm your engine.
- Locate the Oil Filler Cap: This cap is usually on top of the engine and is marked with an oil can symbol and/or the oil grade. Unscrew and remove the cap.
- Add Oil Gradually: Use a funnel to pour oil into the filler neck to avoid spills. Add oil in small increments, starting with about half a quart (approximately 16 ounces).
- Re-check the Dipstick: Wait a minute or two for the oil to settle, then re-check the dipstick as described above.
- Repeat if Necessary: If the oil level is still low, add a little more oil, and check again. Avoid overfilling, as this can also damage your engine.
- Replace the Filler Cap: Once the oil level is within the acceptable range, securely replace the oil filler cap.
How Often Should You Check Your Oil?
Checking your oil regularly is a vital part of preventative car maintenance. A good rule of thumb is to check your oil at least once a month and before any long road trips. Making it a habit to check your oil every couple of fuel fill-ups can help you stay on top of your engine’s health.
Professional Oil Checks and Services:
If you are uncomfortable checking your oil yourself, or if you find that your car frequently requires oil top-offs, it’s a good idea to have your vehicle inspected by a professional mechanic. Qualified technicians can check for leaks, assess your engine’s condition, and perform oil changes and other necessary maintenance. Regular oil changes, as recommended by your car’s manufacturer, are essential for maintaining engine health and performance.
By following these simple steps, you can confidently check your car’s oil level and ensure your engine stays properly lubricated. Regular oil checks are a small but significant step in keeping your vehicle running smoothly and reliably for years to come.