Is your car key fob not working? Before you rush to the dealership, the solution might be simpler than you think. Often, a dead battery is the culprit, and replacing it is a straightforward DIY task. But first, you need to know how to open your key fob. As a car repair expert at keyfobx.com, I’ll guide you through the process of safely opening your key fob to access and replace the battery. Let’s get started!
Step 1: Removing the Manual Key
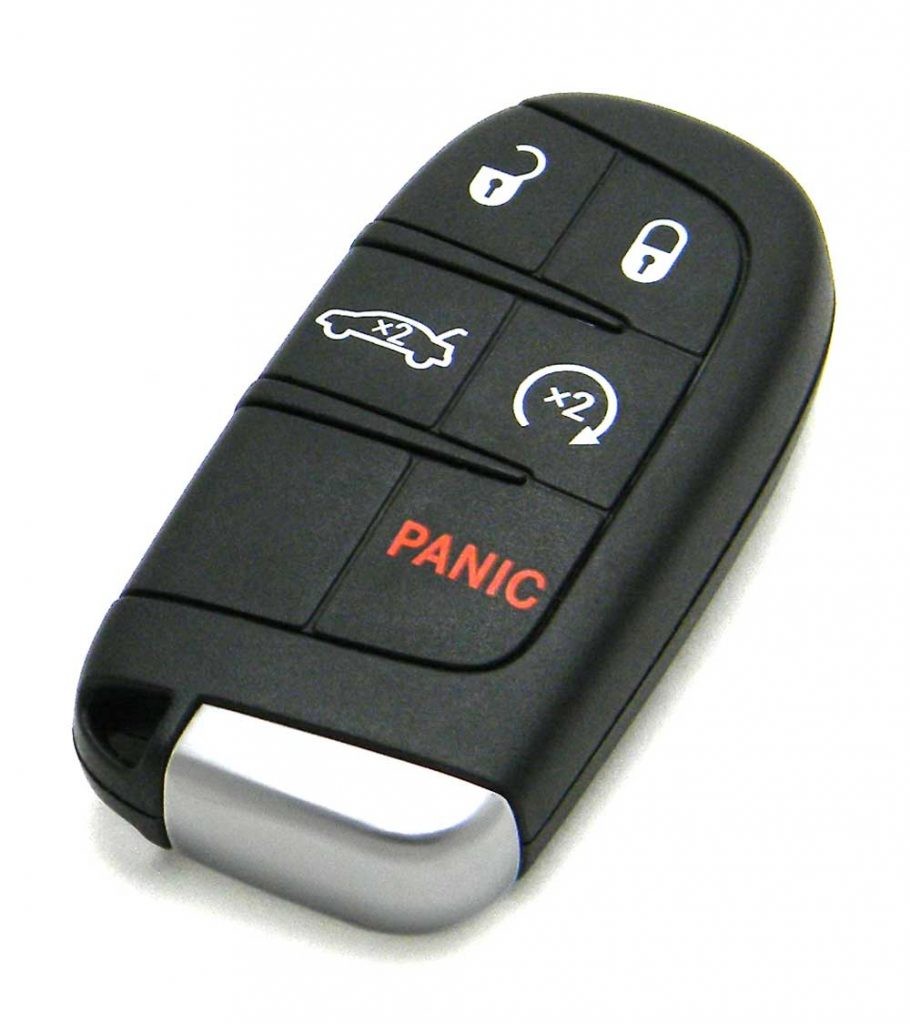
Most modern key fobs come with a hidden manual key for emergency access to your vehicle. This key is usually the first step to opening the fob itself. Look closely at your key fob; you should see a section that appears different – often a different color or material. This section usually houses the manual key.
To release the key, locate a small button or latch on the key fob. Press and hold this release while gently pulling on the manual key section. It should slide out relatively easily.
On many key fobs, the manual key is located on the bottom portion. After locating the release, the key will detach from the fob body.
With the manual key removed, you’ll typically see an opening or seam exposed on the key fob. This is your entry point to pry it open.
Step 2: Prying Open the Key Fob Casing
Now that the manual key is out, the next step is to carefully separate the two halves of the key fob casing. The casings are designed to fit snugly, so you’ll likely need a small tool to help. A small flat-head screwdriver or a similar thin, sturdy object will work perfectly.
Locate the seam you revealed after removing the manual key. Gently insert the tip of your screwdriver into this seam. You’ll want to apply gentle pressure to pry the two halves apart. Work your way around the seam, carefully twisting or levering the screwdriver to separate the casing.
Be patient and avoid using excessive force, especially the first time you open the fob, as the latches can be quite tight. Work slowly around the perimeter until the top and bottom pieces begin to separate. Once you have a small gap, you can often use your fingers to gently pull the two halves completely apart.
Step 3: Accessing and Replacing the Battery
With the key fob open, you’ll see the battery compartment. Take a moment to observe how the battery is positioned before removing it. Note the positive (+) and negative (-) sides and how they align within the compartment. This is crucial for correct replacement.
Gently remove the old battery. You might need to use your fingertip or the edge of the screwdriver to coax it out. Once the old battery is out, take note of the battery type. It’s usually a small, circular battery, and the type number (like CR2032, CR2025, or CR1620) is printed on the battery itself.
Install the new battery, ensuring the positive and negative sides are oriented correctly, just as the old battery was.
Step 4: Reassembling the Key Fob
The final step is to put your key fob back together. Align the two halves of the casing and press them firmly together. You should hear a click or snap as the latches re-engage. Ensure there are no gaps and the fob feels securely closed.
Once reassembled, test your key fob by pressing the lock and unlock buttons to confirm it’s working correctly. Finally, slide the manual key back into its slot until it clicks into place.
Now you know how to open your key fob and replace the battery! This simple maintenance task can save you time and money. For more car key fob tips and solutions, visit keyfobx.com – your trusted resource for key fob expertise.