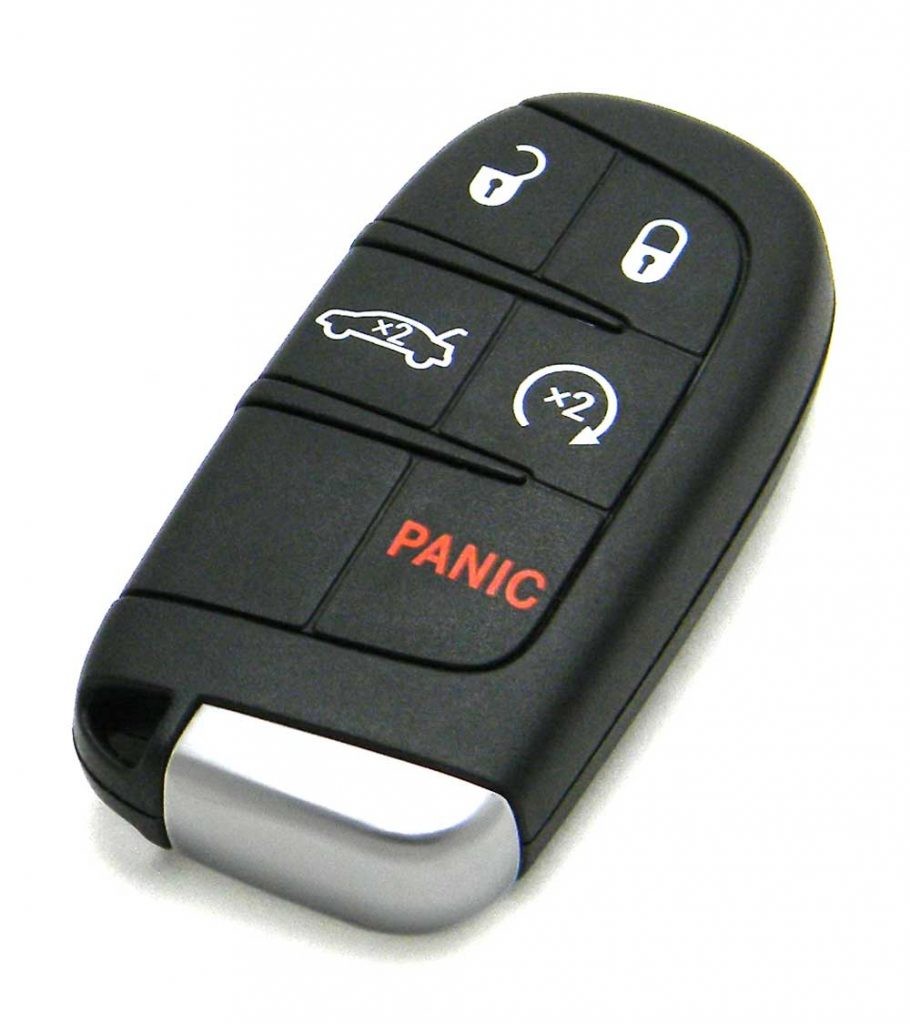
Key fobs are incredibly convenient until they stop working. Often, the issue is just a dead battery. Before you rush to a dealership or auto repair shop, you can easily try replacing the battery yourself. The first step, and sometimes the trickiest part, is knowing how to open your key fob without damaging it. This guide will walk you through the process of safely opening your key fob to replace the battery, saving you time and money.
Many modern key fobs are designed to be opened, and with a few simple tools and a little patience, you can access the battery compartment. The process is generally straightforward and similar across many car brands, though there might be slight variations depending on your specific key fob model.
Step 1: Locate and Remove the Physical Key
Most key fobs contain a physical key that can be detached. This is usually a standard metal key hidden within the fob itself. Look for a small release button or latch, often metallic or a different color than the main fob body. Press or slide this release to detach the physical key. Removing this key is often necessary to access the seam or opening point of the key fob casing.
Step 2: Identify the Opening Point
Once the physical key is removed, examine the now exposed area of your key fob. You’re looking for a small slot or seam line running along the edge of the fob. This is where you will gently pry the fob open. Sometimes, a small arrow or indicator might point to the exact location where you should insert a tool to begin separating the two halves of the fob.
Step 3: Carefully Pry the Key Fob Open
For this step, you’ll need a small, flat-head screwdriver or a similar thin, sturdy tool like a credit card or plastic pry tool. Insert the tip of your tool into the slot or seam you identified in the previous step. Apply gentle but firm pressure to start separating the two halves of the key fob.
Be patient and work your way around the seam, gently twisting or prying to loosen the latches holding the fob together. Avoid using excessive force, as you could damage the plastic casing. If the fob is particularly tight, try working your tool around different points along the seam until you find a spot that begins to separate. Often, the first time opening a key fob can be the most difficult, as the factory seals are quite secure.
Once you have successfully pried the key fob open, you will see the internal components, including the battery. Take note of the battery’s orientation (+ and – sides) before removing it. You can then replace the old battery with a new one of the same type, ensuring the correct polarity.
Step 4: Battery Replacement and Reassembly
With the key fob open, you can now easily access and replace the battery. Typically, key fobs use small coin cell batteries. Note the battery type (e.g., CR2032, CR2025, CR1632) printed on the old battery so you can purchase the correct replacement. Once the new battery is in place, carefully snap the two halves of the key fob back together until you hear a click, ensuring it’s securely closed.
After reassembly, test your key fob to ensure it’s working correctly. If it is, you’ve successfully opened your key fob and replaced the battery, a simple fix that can save you from unnecessary dealership visits.
