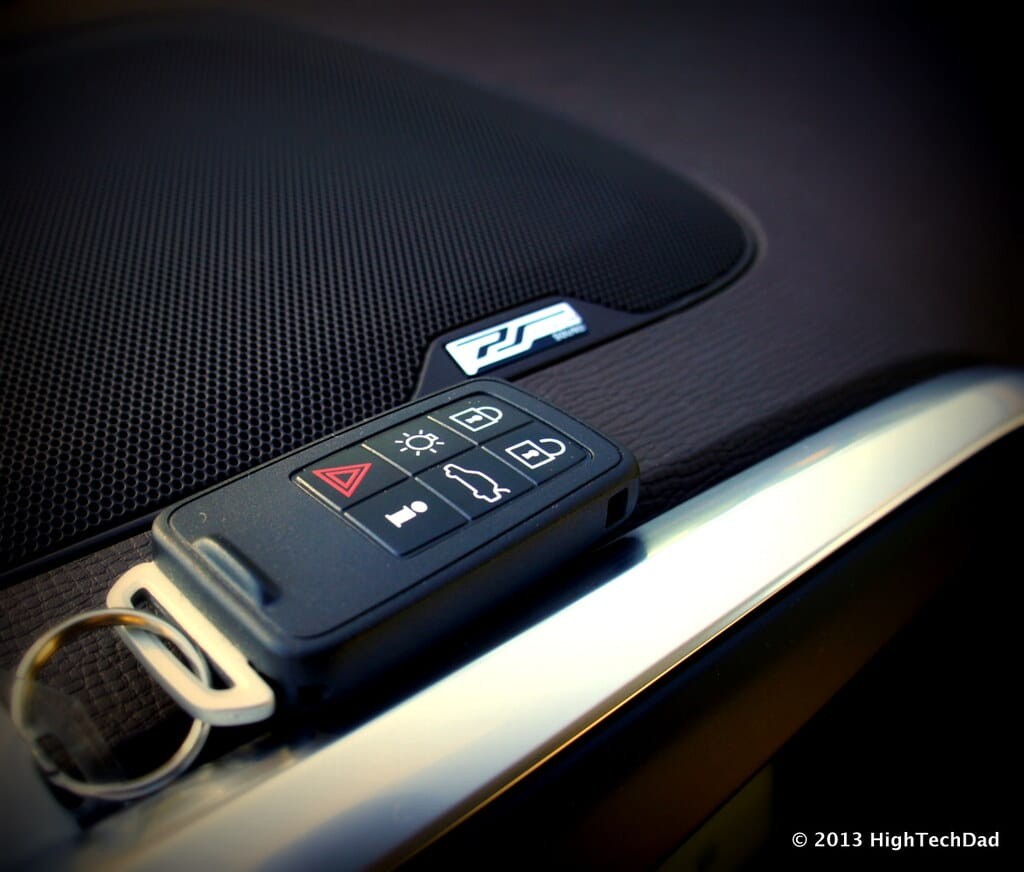
Key fobs have become indispensable for modern car owners, offering convenient remote access to vehicle functions like locking/unlocking doors, activating alarms, and even starting the engine remotely. These electronic marvels, however, can sometimes lose their programming due to signal issues or battery changes. Fortunately, reprogramming your key fob is often a straightforward process you can undertake yourself, saving you the expense of a dealership or auto locksmith visit. This guide provides a comprehensive step-by-step approach to programming a new key fob, ensuring you regain seamless access to your vehicle’s features.
Before diving into the general process, it’s crucial to understand that specific programming steps can vary significantly between car manufacturers and models. Always consult your vehicle’s owner’s manual for the most accurate and model-specific instructions. The manual will be your best resource, outlining any unique procedures or requirements for your particular car. Many manufacturers also provide digital versions of their manuals online, easily accessible through their websites.
While the owner’s manual is paramount, the following steps offer a general framework that applies to many vehicles and can serve as a starting point for programming your new key fob.
Step 1: Prepare and Enter the Vehicle
Begin by sitting in the driver’s seat of your car. Ensure all doors are completely closed. Have both your new, unprogrammed key fob and your existing ignition key readily available. For a smoother process, clear the area around the ignition and steering column of any obstructions.
Step 2: Ignition Cycle – Turning the Key
Insert your ignition key into the ignition cylinder. Turn the key to the “ON” position. This is the position just before you would engage the starter to crank the engine. Do not start the engine. You are simply activating the car’s electrical system. Keep the key in this “ON” position for a few seconds, typically between 5 to 10 seconds. This action prepares the vehicle’s computer to enter programming mode.
Step 3: Initiate Programming Mode with the Lock Button
Now, take your new key fob and aim it towards the dashboard, specifically in the vicinity of the rearview mirror. Many vehicles have the receiver for the remote locking system located in this area. Press and hold the “LOCK” button on the key fob for a few seconds, generally around 2 to 3 seconds. This sends a signal to the car’s receiver, attempting to initiate the programming sequence.
Step 4: Turn Off Ignition and Test
After pressing the “LOCK” button, quickly turn the ignition key back to the “OFF” position and remove the key from the ignition. This action signals to the car’s computer to finalize the programming attempt. Now, test the new key fob by pressing the “LOCK” or “UNLOCK” button. Listen for the car doors to lock or unlock, or observe the parking lights flashing – these are typical indicators of successful key fob programming.
Step 5: Programming Additional Key Fobs (If Necessary)
If you have multiple key fobs to program, it’s crucial to program them all in one session. Many car systems will erase the memory of previously programmed fobs when a new one is added. To program additional fobs, immediately repeat steps 2 through 4 for each additional key fob you wish to program. Work swiftly between fobs to ensure the car remains in programming mode.
Troubleshooting and Important Considerations
- Timing is Key: The timing between steps can be critical. If the process doesn’t work on the first try, carefully re-read your owner’s manual and try again, paying close attention to the timing instructions.
- Battery Check: Ensure the batteries in your new key fob are fresh and correctly installed. A weak battery can prevent successful programming.
- Specific Car Models: As emphasized earlier, these are general steps. Some vehicles may have variations. For instance, some models require you to cycle the ignition key on and off multiple times, press specific pedal combinations, or even insert and remove the key in a particular sequence to enter programming mode. Always refer to your owner’s manual.
- Programming Failures: If you repeatedly attempt the programming process and it consistently fails, there could be several reasons:
- Incorrect Procedure: You might be following an incorrect procedure for your specific vehicle. Double-check your owner’s manual.
- Faulty Key Fob: The new key fob itself might be defective.
- Vehicle System Issues: There could be a problem with your car’s receiver or computer system.
- When to Seek Professional Help: If you’re unable to program your key fob after multiple attempts and consulting your manual, it’s best to contact a qualified auto locksmith or your car dealership. They have specialized tools and diagnostic equipment to program key fobs, diagnose potential issues, and ensure your remote system is functioning correctly.
In conclusion, programming a new key fob can often be a DIY task, saving you time and money. By following these general steps and, most importantly, consulting your vehicle’s owner’s manual for model-specific instructions, you can often successfully program your new key fob and regain the convenience of remote vehicle access. Remember to prioritize accuracy and timing during the process, and don’t hesitate to seek professional assistance if needed.

