Maintaining your vehicle is crucial for its longevity and performance, and one of the most basic yet vital tasks is checking your car’s oil level. Many drivers may feel unsure about this process, but it’s actually quite straightforward. As automotive experts at keyfobx.com, we’re here to guide you through the steps. While we provide general advice, always remember to consult your vehicle’s owner’s manual for manufacturer-specific recommendations.
Whether you drive a modern car with a digital oil monitor or a classic model with a traditional dipstick, understanding how to manually check your oil level is a valuable skill. Let’s delve into the process:
-
Prepare Your Supplies: Before you begin, gather a rag or paper towels. Checking your oil can sometimes get a little messy, and having these on hand will be helpful for wiping up any spills.
-
Park on Level Ground: Ensure your car is parked on a flat, level surface. This is important for getting an accurate oil level reading. If your car is on a slope, the oil may pool unevenly, giving you a false measurement.
-
Engine Condition: Turn off your engine and allow it to cool down. A cold engine ensures that all the oil has drained back into the oil pan, providing a more precise reading. It also prevents the risk of burns from hot engine components. While some manufacturers suggest checking oil when the engine is warm, for general purposes, a cold engine is safer and easier for DIY checks. Always refer to your owner’s manual for specific instructions for your vehicle.
-
Locate the Dipstick: Open your car’s hood and find the oil dipstick. It’s typically identifiable by a brightly colored handle, often orange or yellow, and is usually marked with an oil can symbol.
-
Initial Dipstick Removal and Wipe: Pull the dipstick out completely. You’ll likely see oil on it from its normal operation. Use your rag or paper towel to wipe the dipstick clean. This initial wipe is essential for getting a clear and accurate reading in the next step.
-
Re-insert and Remove Again: Push the dipstick all the way back into its tube until it’s fully seated. Then, pull it out again. This second removal is what you’ll use to check your oil level.
-
Read the Oil Level: Examine the end of the dipstick. There will be markings to indicate the correct oil level range. Common types of markings include:
- Two Pinholes or Notches: The oil level should be between these two points.
- “L” and “H” or “MIN” and “MAX”: “L” or “MIN” indicates the low level, and “H” or “MAX” indicates the high or full level. The oil should be somewhere between these marks.
- Crosshatched Area: If your dipstick has a crosshatched area, the oil streak should be within this area for a proper oil level.
- Acceptable Range: As long as the top edge of the oil streak on your dipstick is within the designated marks or crosshatched area, your engine oil level is generally good. If the oil level is below the minimum mark, you need to add oil.
 Close-up of a car dipstick showing the oil level between the minimum and maximum marks indicating a good oil level
Adding Oil If Needed
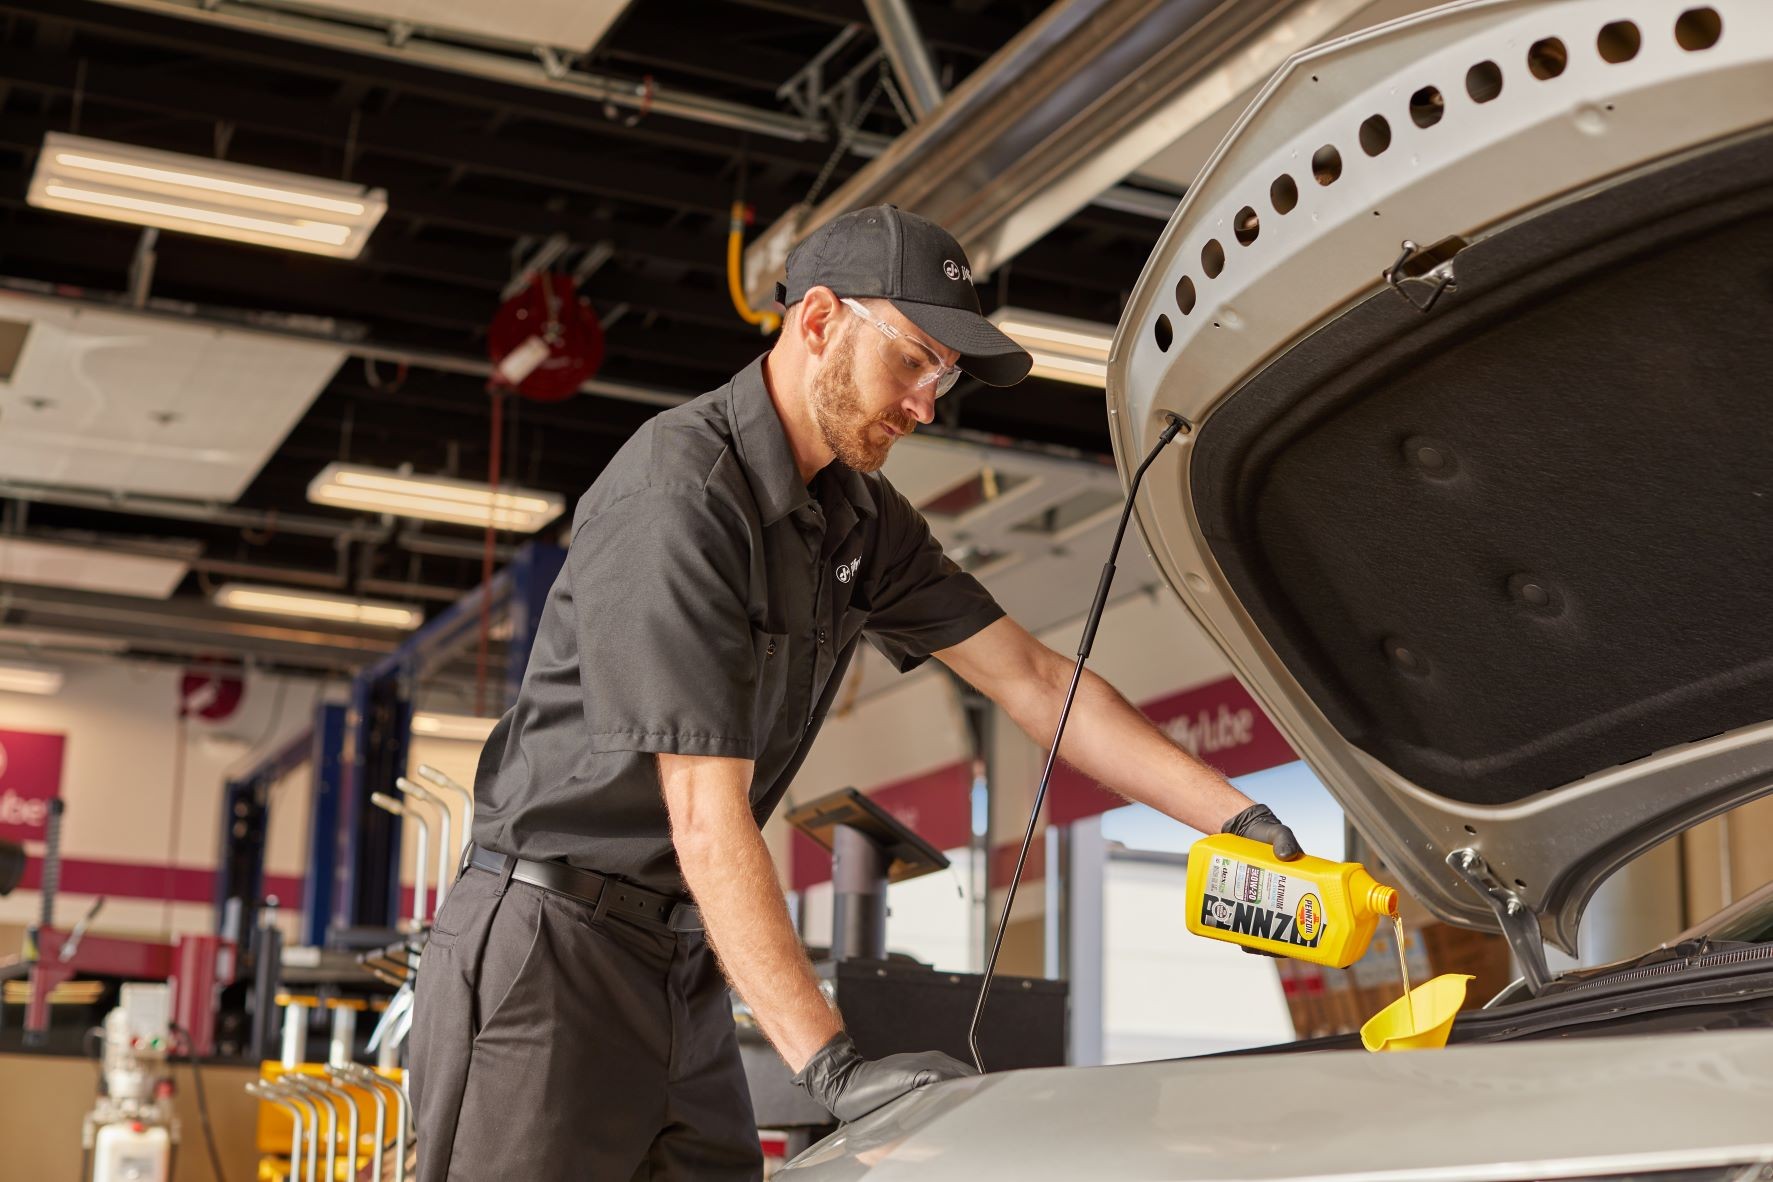
If your dipstick reading or dashboard monitor indicates low oil, it’s time to add some. It’s crucial to use the correct type of oil recommended for your vehicle, typically found in your owner’s manual or often printed on the oil filler cap. Common grades are often 0W-20 or 5W-30. If you’re unsure, consult your owner’s manual or a trusted automotive service professional.
Here’s how to safely add oil to your engine:
- Locate the Oil Filler Cap: Find the oil filler cap on top of your engine. It’s usually marked clearly with an oil can symbol and the recommended oil type.
- Remove the Cap and Use a Funnel: Unscrew and remove the oil filler cap. Using a funnel is highly recommended to prevent spills and ensure the oil goes directly into the filler neck.
- Add Oil Gradually: Pour in oil slowly and in small increments. Overfilling can be as damaging as underfilling. Start by adding about half a quart (approximately 16 ounces).
- Re-check the Dipstick: Wait a minute or two for the oil to settle, then check the dipstick again following steps 5-7 above.
- Continue Adding if Necessary: If the oil level is still below the acceptable range, add the rest of the quart and check again. Repeat this process, adding oil in small amounts and checking the level until it reaches the correct mark on the dipstick.
- Replace the Filler Cap: Once the oil level is correct, securely replace the oil filler cap.
Regular Oil Level Checks: When and How Often?
Checking your engine oil level should be a routine part of your car maintenance schedule. A good practice is to check it at least once a month and ideally before any long trips. Some experts recommend checking it every time you fill up your gas tank as a simple way to remember. Regular checks can help you catch leaks or excessive oil consumption early, preventing potential engine damage and costly repairs.
Professional Oil Checks and Services
If you prefer not to check your oil yourself, or if you’re unsure about any part of the process, professional services are readily available. At keyfobx.com, we recommend utilizing trusted service providers like Jiffy Lube®. Trained technicians at these centers can:
- Accurately check your oil level.
- Advise on the best oil type for your vehicle and driving conditions.
- Perform a complete oil change or simply top off your oil as needed.
- Provide complimentary fluid top-offs with services like the Jiffy Lube Signature Service® Oil Change, helping maintain vital fluids between your regular service intervals.
Regular oil checks and changes are fundamental to preventative car maintenance. They are essential for keeping your engine running smoothly and preventing premature wear. Make oil level checks a part of your regular car care routine to ensure your vehicle’s health and longevity.