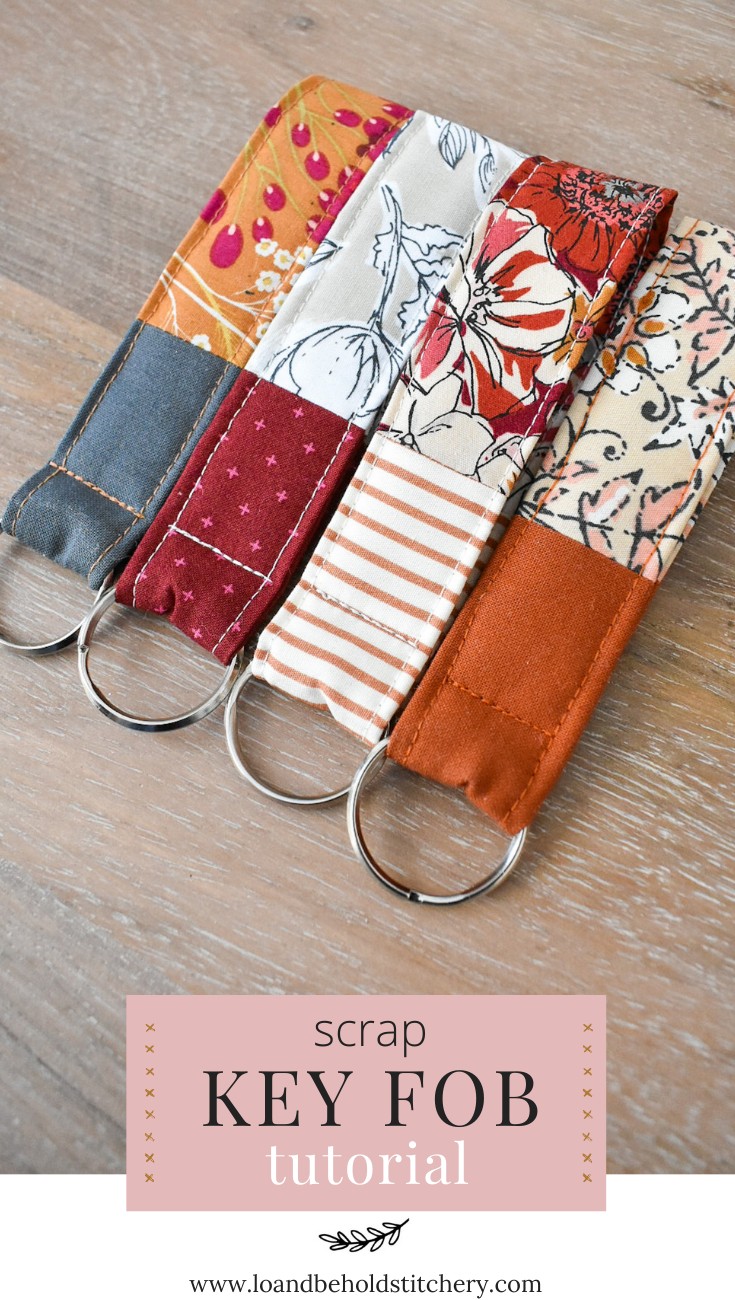
Key fobs are fantastic little projects that are both quick to make and incredibly useful. If you’re looking for a simple and satisfying sewing project, especially one that uses up scrap fabric, then a Key Fob Pattern is just what you need! For years, I’ve enjoyed crafting these handy accessories, and they remain a go-to for last-minute gifts, charming stocking stuffers, unique party favors, and so much more. The best part? You likely already have all the materials you need: some fabric scraps, batting remnants, and a key ring. Gather your supplies and let’s dive into creating your own adorable key fobs!
Here’s what you will need to get started:
Sewing Instructions for Your Key Fob Pattern
- Begin by sewing your two fabric pieces together along the short ends. Once sewn, press the seam open to ensure a flat finish.
- Next, fold your fabric piece in half lengthwise, ensuring the wrong sides are facing each other. Press along the fold to create a sharp crease. This will serve as a guide for the next steps.
- Carefully place the batting piece inside the folded fabric, aligning it against the crease you just pressed. Center the batting so that there’s approximately a 1/4″ fabric overhang on both ends. This ensures the batting is neatly enclosed.
- Now, fold the bottom edge of the fabric pieces around the batting. Press along this fold to create another crease. This fold starts to enclose the batting and shape the key fob.
- Fold the top edge of the fabric down by about 1/4″ over the batting. Press this fold as well. This creates a neat, finished edge and further secures the batting.
- Insert the key fob material into the key ring. This step prepares the hardware for attachment. Use clips to hold the folded fabric edges together. This will keep everything in place while you prepare to sew.
- Fold the key fob in half, aligning the two raw ends. This step is crucial for creating the loop that attaches to the keyring.
- Slightly unfold the raw ends so that the entire 3″ length of the fabric pieces are aligned. Move the batting out of the way to ensure you don’t sew through it in the seam allowance. Pin in place to secure.
- Sew a 1/4″ seam. This will create a closed loop, forming the main strap of your key fob.
- Use your fingers to gently press the seam open. This will reduce bulk and allow the fabric to lay flat.
- Return the batting pieces to their original position inside the fabric fold.
If the batting pieces overlap after sewing the loop, trim them so they butt against each other without overlapping. This prevents bulk in the finished key fob.
- Fold the fabric back over the batting as it was initially. Clip everything in place, ensuring the edges are aligned and ready for the final stitching.
- Bring your bobbin thread up through the needle plate. Pull both the needle and bobbin threads to have about 5″ of thread – this is for burying the threads later. Begin sewing about 1/8″ from the edge around the loop. Maneuver the hardware and clips as you sew around the loop.
-
For a clean finish, especially when the seam starts and stops at the same point, bury your threads instead of backstitching. Stop sewing with the needle down about 2-3 inches before your starting point.
-
Gently pull one thread to bring the other thread to the same side. Tie these two threads in a knot. Thread a needle close to the knot, insert it into the fabric, and bring it out about 1-2 inches away, being careful not to go through all layers of the key fob.
- Gently pull the thread so the knot “pops” under the fabric surface. Trim the excess thread tails. This technique hides the thread ends for a professional look.
-
Continue stitching until you meet the beginning of your seam. Bury these threads as well, repeating steps 14-16.
-
Repeat steps 13-16 for the opposite edge of the key fob, ensuring both long edges are neatly stitched.
- Position the hardware in the center of the accent fabric section. Clip the key fob around the hardware, positioning it where you want the key ring to be attached.
- Starting with about 5″ of bobbin and needle thread, stitch across the width of the key fob to secure the hardware. For extra security, stitch forward, backward, and then forward again. Bury the thread tails as you did in steps 15-16.
- And that’s it – enjoy your new handmade key fob!
A word of caution: creating these key fobs can become quite addictive!
Download the printable PDF for this key fob pattern tutorial here.
Happy Sewing!

