Is your car key fob starting to act up? Maybe you have to press the buttons multiple times, or perhaps it’s stopped working altogether. Before you rush to the dealership, the solution might be simpler than you think – a dead battery! Changing your key fob battery is a straightforward task that you can easily handle yourself at home. This guide will walk you through the process step-by-step, saving you time and money.
Step 1: Accessing the Key Fob Internals
Most modern key fobs are designed with a hidden mechanical key for emergency access. This is often the first step to opening the fob and accessing the battery compartment. Look closely at your key fob; you should see a section that looks slightly different, often a different color or material. This section usually houses the detachable key.
To release the key, locate a small release button or latch on the fob. Press and hold this button while gently pulling on the key portion. It should slide out smoothly. For example, in many models, this is a silver or metallic part that contrasts with the main body of the fob.
Once the mechanical key is removed, you’ll usually find a small notch or opening revealed on the key fob casing. This is your entry point to pry open the fob.
Step 2: Opening the Key Fob Casing
With the mechanical key removed and the notch located, the next step is to carefully pry apart the two halves of the key fob casing. These casings are designed to fit snugly to protect the internal components, so they can be a little tight, especially the first time you open it.
You’ll need a small, flat-head screwdriver or a similar thin, sturdy tool. Insert the tip of the screwdriver into the notch you found earlier. Gently twist or lever the screwdriver to start separating the two halves of the fob.
Work your way around the seam of the key fob, gently inserting the screwdriver and applying slight pressure to separate the casing clips. Avoid using excessive force, as you could damage the plastic. Be patient and work slowly; the casing will eventually pop open into two pieces, revealing the battery inside.
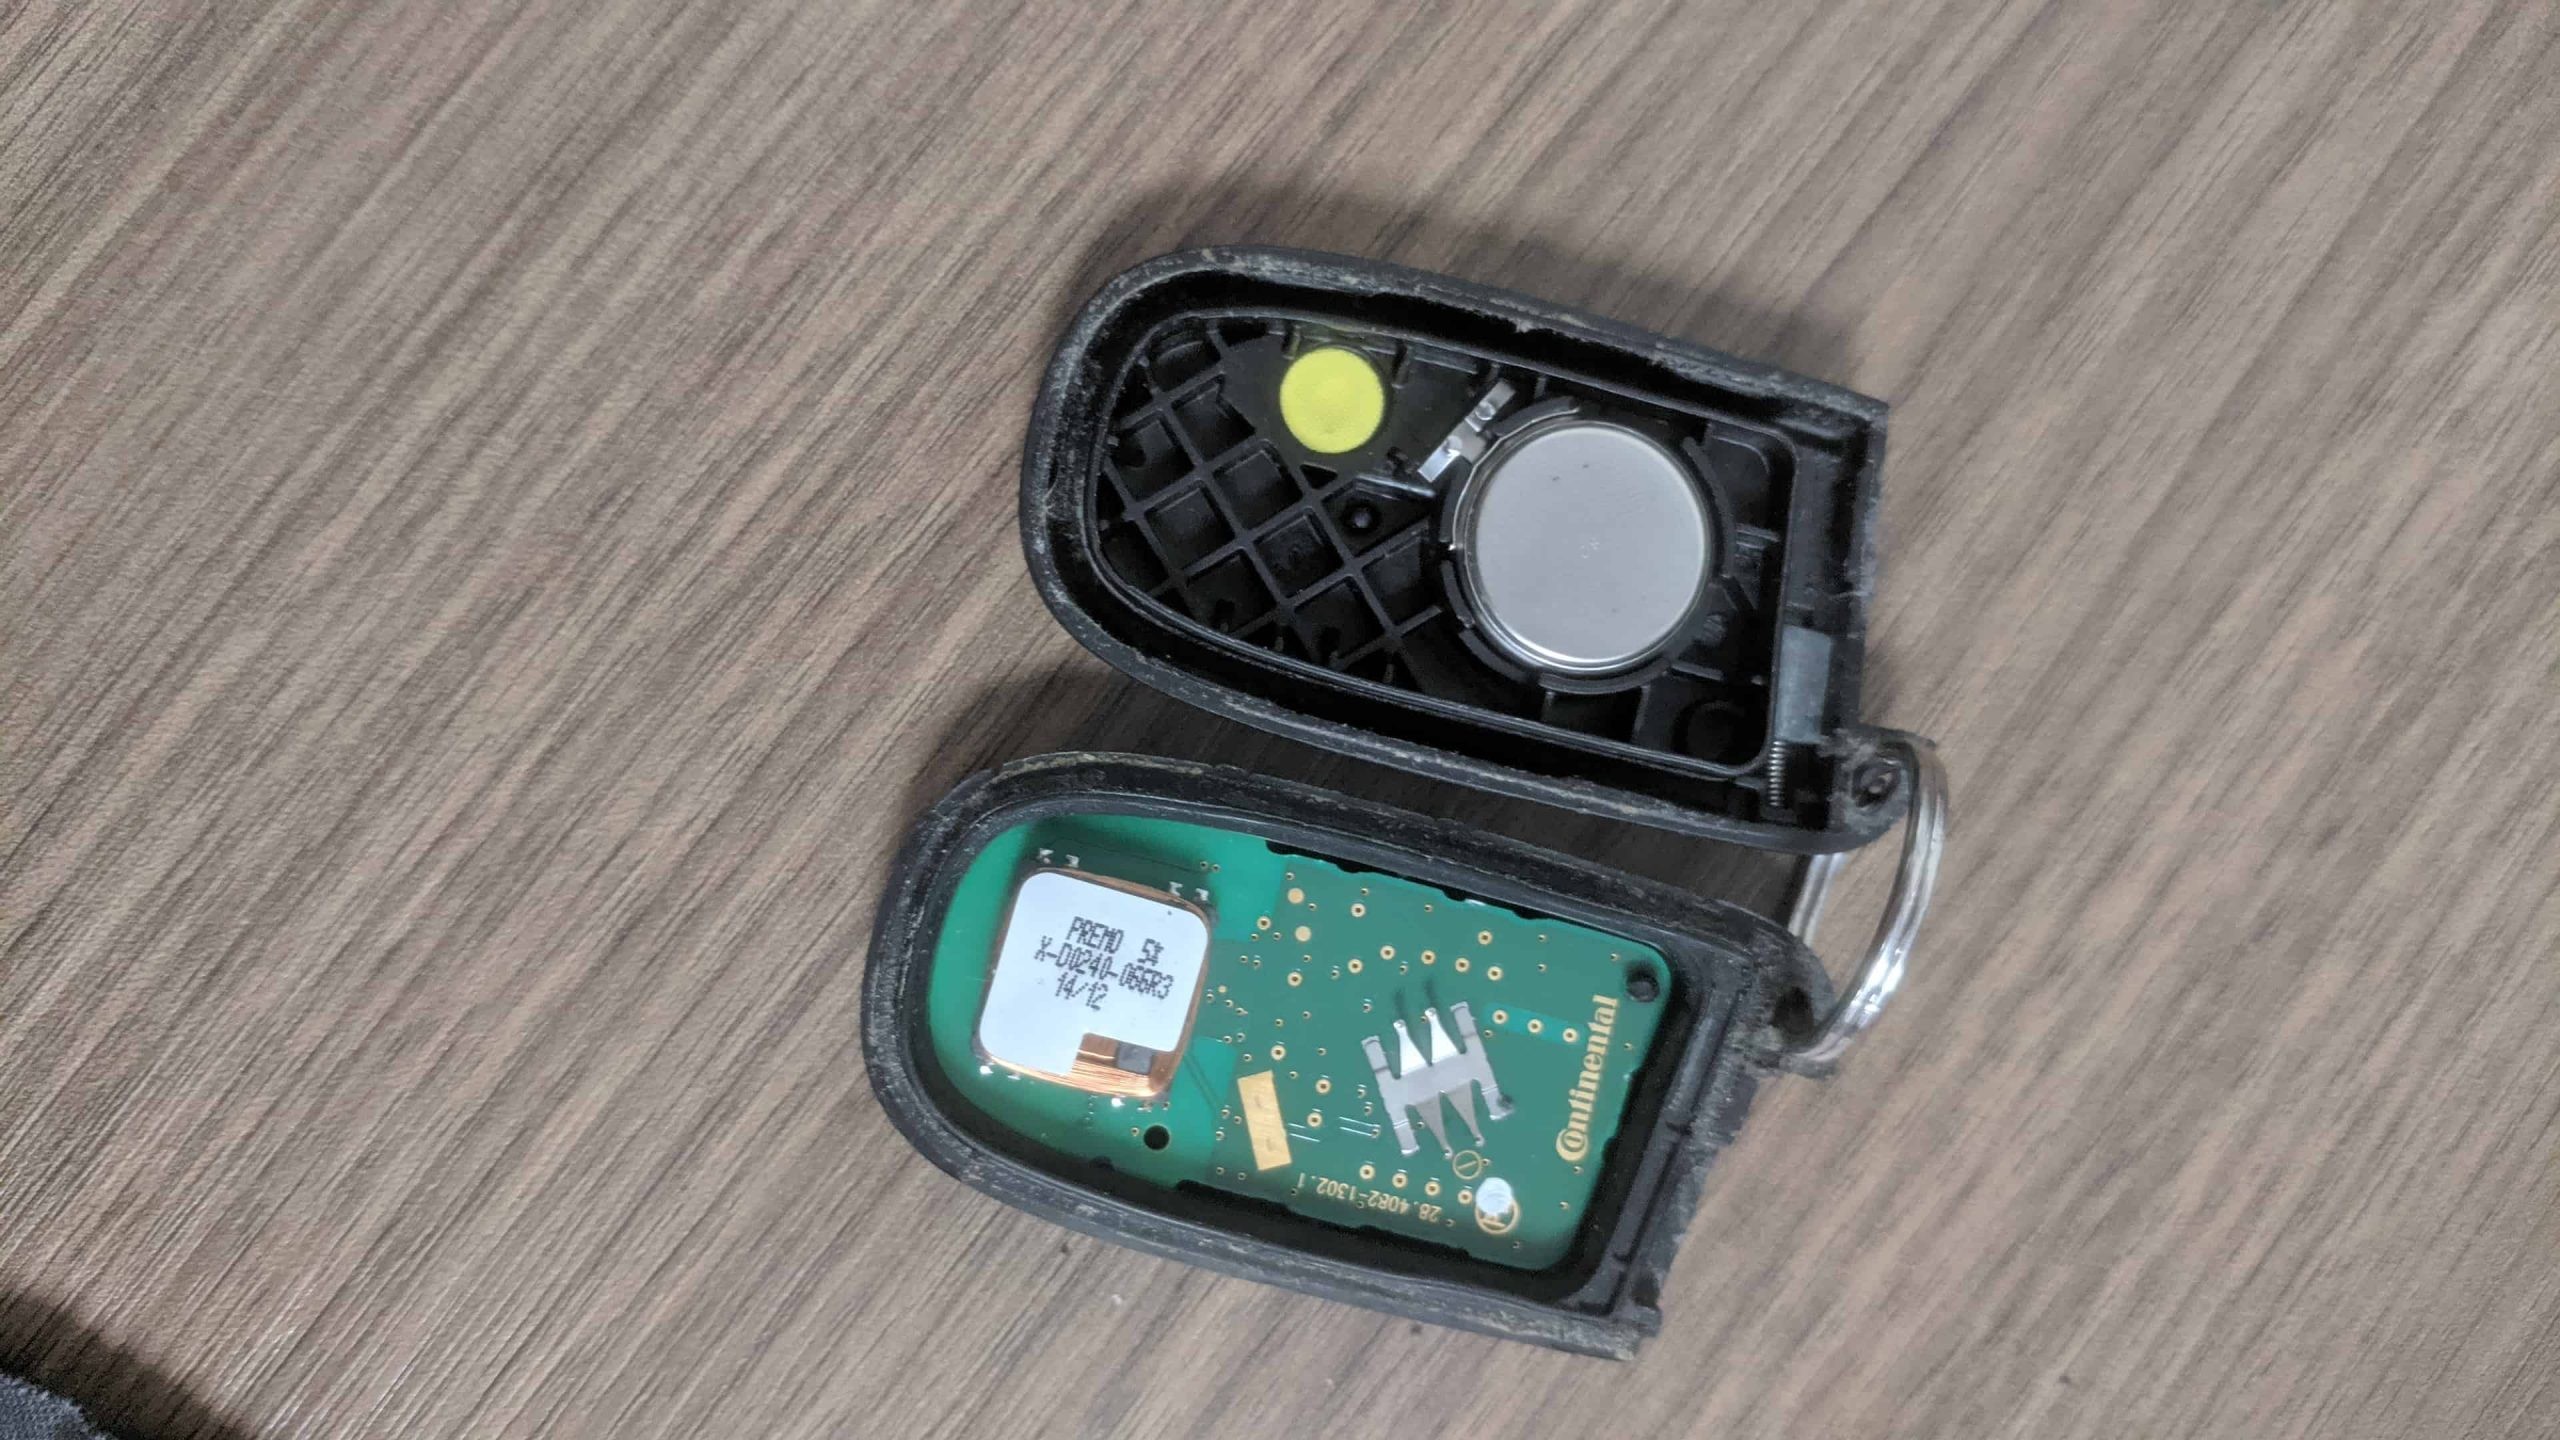
Step 3: Replacing the Battery
Once the key fob is open, you’ll see the battery. Before removing the old battery, take a close look at how it’s positioned. Note the orientation of the positive (+) and negative (-) sides. This is crucial to ensure the new battery is installed correctly.
Most key fobs use a small, circular coin cell battery. Common types include CR2032, CR2025, or CR1632, but the specific type can vary depending on your car make and model. Check the markings on the old battery to identify the correct replacement. You can usually find these batteries at most drugstores, supermarkets, or electronics stores.
Carefully remove the old battery. You might be able to gently pry it out with your fingertip or the edge of the screwdriver. Insert the new battery, making sure the positive and negative sides are facing the same direction as the old one was.
Step 4: Reassembling the Key Fob
With the new battery in place, it’s time to put the key fob back together. Align the two halves of the casing, making sure they are correctly oriented. Press firmly and evenly around the edges of the fob until the two halves snap back together. You should hear a click or feel them securely locking into place.
Once reassembled, test your key fob by pressing the lock and unlock buttons to ensure it’s working properly. Finally, slide the mechanical key back into its slot in the fob.
Congratulations! You’ve successfully changed your key fob battery and saved yourself a trip to the service center. If you encounter any difficulties or prefer professional assistance, don’t hesitate to contact us at 641-648-4695 for help!