Is your car key fob starting to act up? Maybe you have to press the buttons multiple times for your car to respond, or perhaps the range has significantly decreased. These are classic signs that your key fob battery is running low. Luckily, replacing it is a straightforward task you can easily do yourself, saving you time and money compared to a dealership visit. This guide will walk you through the process of how to change your key fob battery, ensuring you get back to unlocking your car with ease.
Changing your key fob battery is a common piece of car maintenance that any car owner can handle. You don’t need to be a mechanic to do this! With just a few simple tools and a little patience, you can swap out the old battery for a new one and restore your key fob to its full functionality. Let’s get started.
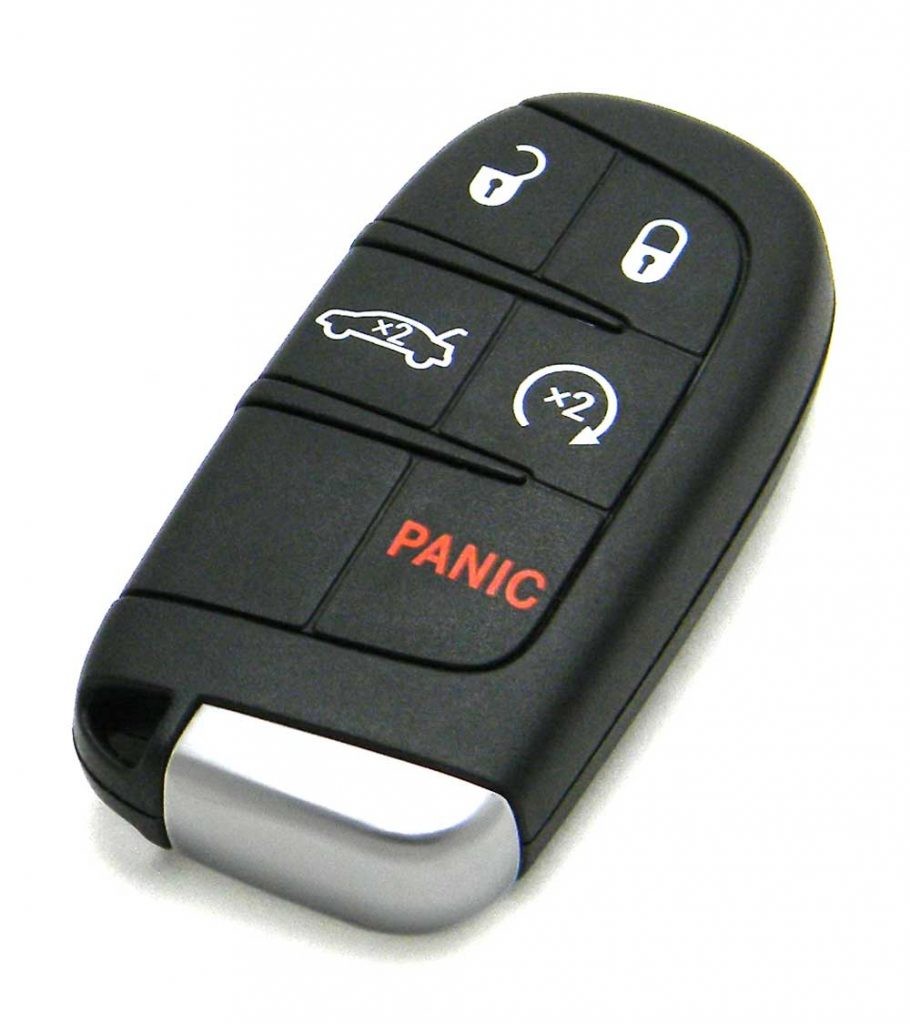
Step-by-Step Guide to Replacing Your Key Fob Battery
Most key fobs are designed to be user-serviceable when it comes to battery replacement. While the exact design might vary slightly depending on your car’s make and model, the general process remains quite similar. Here’s a breakdown of the steps:
1. Locate the Emergency Key and Remove It
Many modern key fobs contain a physical, or emergency, key hidden within them. This key is a backup in case your battery dies completely, allowing you to manually unlock your car door. The first step is to find and remove this key.
Look closely at your key fob. You’ll typically find a small button or release latch, often a different color than the main fob casing, that secures the emergency key. Press or slide this release while gently pulling on the key to remove it.
2. Open the Key Fob Casing
With the emergency key removed, you’ll now have access to the key fob casing itself. The next step is to carefully open this casing to access the battery compartment. Most key fobs are designed to snap together, and you’ll need to gently pry them apart.
Examine the area where you removed the emergency key. You should see a small slot or seam along the edge of the key fob casing. This is where you’ll insert a small tool to begin prying it open. A small flathead screwdriver or even a thin, sturdy plastic tool (like a guitar pick or plastic trim removal tool) can work well.
Gently insert your chosen tool into the slot and twist or lever it to begin separating the two halves of the key fob casing. Work your way around the seam, applying gentle pressure until the case begins to split open. Be patient and avoid using excessive force, as you don’t want to damage the plastic casing. It might be a bit stiff the first time you open it.
3. Identify and Remove the Old Battery
Once the key fob casing is open, you’ll see the battery. Take a moment to note the orientation of the battery – specifically, which side is facing up (+ or -). This is crucial for inserting the new battery correctly. Most key fobs use small, circular batteries, often CR2032, CR2025, or CR2016 types.
Carefully remove the old battery. In some cases, it might be held in place by small clips or a retaining bracket. You might be able to gently pry it out with your small screwdriver or tool, or sometimes you can simply nudge it out with your finger.
4. Install the New Battery
With the old battery removed, it’s time to install the new one. Make sure you have the correct replacement battery type. You can usually find this information printed on the old battery itself or in your vehicle’s owner’s manual. You can purchase these batteries at most drugstores, supermarkets, and auto parts stores.
Install the new battery in the same orientation as the old one. Ensure the correct side (positive or negative) is facing up, matching how the old battery was positioned. Push the battery firmly into place until it’s securely seated in the compartment.
5. Reassemble the Key Fob
Now that the new battery is in place, carefully reassemble the key fob casing. Align the two halves of the casing and press them firmly together until they snap back into place. You should hear a clicking sound, indicating that the case is securely closed.
6. Test Your Key Fob
Finally, test your key fob to ensure it’s working correctly. Press the lock, unlock, and any other buttons on your fob to verify they are functioning as expected. Also, don’t forget to re-insert your emergency key back into the fob.
If everything works, congratulations! You’ve successfully changed your key fob battery. If it’s still not working, double-check that you installed the battery correctly and that you used the right battery type. If issues persist, there might be a different problem with your key fob, and it’s best to consult with a professional.
When to Consider Professional Help
While changing your key fob battery is usually a simple DIY task, there are situations where you might prefer professional assistance:
- Difficulty Opening the Fob: If you’re struggling to open the key fob casing and are worried about damaging it, a professional technician has experience and specialized tools to handle various key fob designs.
- Uncertainty About Battery Type: If you’re unsure about the correct battery type for your key fob, a dealership or auto repair shop can quickly identify and install the right one.
- Persistent Issues: If you replace the battery and your key fob still doesn’t work, there might be a more complex issue, such as a problem with the key fob’s internal electronics or the car’s receiver. In such cases, professional diagnostics are necessary.
For any car maintenance needs or if you prefer professional key fob battery replacement, feel free to contact us at Dale Howard Auto Center. You can also find helpful instructional videos on our YouTube channel for visual guidance. We’re here to help keep you on the road!