Is your car key fob starting to act up? Maybe it’s not unlocking your doors from as far away as it used to, or perhaps it’s become completely unresponsive. Before you assume the worst, the solution might be simpler than you think: a dead battery. Replacing your key fob battery is a surprisingly easy DIY task that can save you time and money. At keyfobx.com, your trusted auto repair experts, we’ll guide you through the process in just a few simple steps.
What You’ll Need Before You Start
Changing your key fob battery is a breeze with just a few common household items. Gather these materials before you begin:
- A Small Flathead Screwdriver or Pry Tool: This will help you gently open the key fob casing. A small eyeglass screwdriver or even a butter knife can work.
- A New Battery: The type of battery you need will vary depending on your car and key fob model. Common types include CR2032, CR2025, and CR2016. Check your owner’s manual or look at the old battery for the correct replacement.
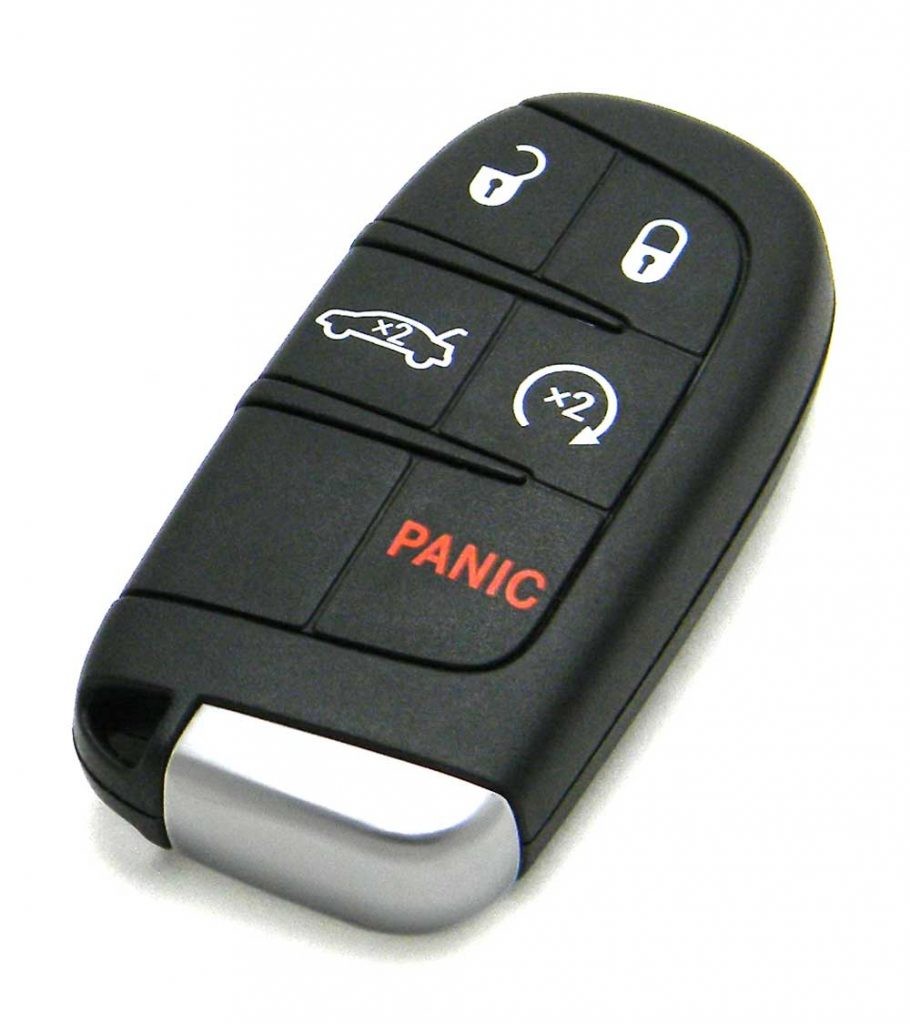
- Your Car Key Fob: Of course, you’ll need the key fob you want to fix!
Step-by-Step Guide: Replacing Your Key Fob Battery
Let’s walk through the process of changing your key fob battery, step by step.
Step 1: Locate and Detach the Emergency Key
Most modern key fobs contain a hidden mechanical key for emergency access to your vehicle. This key usually needs to be removed first to access the battery compartment. Look for a small release button or tab on your key fob. Press or slide this release while gently pulling out the emergency key.
Step 2: Carefully Open the Key Fob Casing
With the emergency key removed, you should see a small seam or slot on the key fob casing. This is where you’ll need to gently pry the fob open. Insert your small flathead screwdriver or pry tool into the slot. Apply gentle pressure and twist or lever the tool to separate the two halves of the key fob. Be patient and work your way around the seam, as the casing may be snapped together tightly.
Step 3: Remove and Replace the Old Battery
Once the key fob is open, you’ll see the battery. Before removing the old battery, take a close look at how it’s positioned in the compartment. Note the orientation of the positive (+) and negative (-) sides. This is crucial for installing the new battery correctly. Gently remove the old battery. You might be able to pry it out with your small screwdriver or simply pop it out with your finger. Insert the new battery, ensuring it’s placed in the same orientation as the old one.
Step 4: Reassemble the Key Fob
After replacing the battery, carefully align the two halves of the key fob casing. Press them firmly together until they snap back into place. You should hear a clicking sound indicating that the fob is securely closed. Finally, reinsert the emergency key back into the key fob.
Test Your Key Fob to Ensure Proper Functionality
Congratulations! You’ve successfully replaced your key fob battery. Now, test the buttons on your key fob to make sure it’s working correctly. Try locking and unlocking your car doors, activating the panic alarm, and starting your vehicle remotely if your fob has that feature.
If you’re still experiencing issues with your key fob after replacing the battery, or if you prefer professional assistance, the expert technicians at keyfobx.com are always ready to help. We offer a range of key fob services and can diagnose any problems you might be having.
For a more detailed visual guide, be sure to check out our helpful video tutorials on our YouTube channel. Don’t forget to subscribe for more car maintenance tips and tricks!