Want to add a touch of personality to your everyday essentials? A ruffled key fob might be just the thing you need! This guide will walk you through creating your own stylish and functional accessory, perfect for jazzing up your keys, purse, or backpack.
Understanding the Appeal of Ruffled Key Fobs
Ruffled key fobs offer a charming blend of practicality and style. They’re a delightful way to express your individuality while keeping your keys organized and easy to find.
Gathering Your Materials
Before we begin, let’s gather everything you’ll need for this project. Don’t worry; most of these items are readily available at craft stores or online:
- Fabric: Choose a fabric that speaks to your style. Cotton, linen, and even felt work great!
- Key Fob Hardware: This usually includes a key fob ring, swivel clasp, and a key fob blank.
- Scissors: Fabric scissors are ideal, but sharp multi-purpose scissors will do.
- Sewing Machine: While hand-stitching is possible, a sewing machine makes the process faster and more efficient.
- Thread: Choose a thread color that matches or complements your fabric.
- Ruler or Measuring Tape: For accurate measurements.
- Fabric Marking Tool: A disappearing ink pen or tailor’s chalk works best.
- Iron and Ironing Board: For pressing seams and creating crisp ruffles.
- Optional: Rotary cutter and mat, fabric glue, decorative buttons or embellishments.
Step-by-Step Guide to Creating Your Ruffled Key Fob
1. Prepare Your Fabric:
- Measure and cut your fabric according to the size and fullness you desire for your ruffles. A longer strip will result in fuller ruffles.
- A good starting point is a strip twice as long as your key fob blank and about 2-3 inches wide.
2. Create the Ruffles:
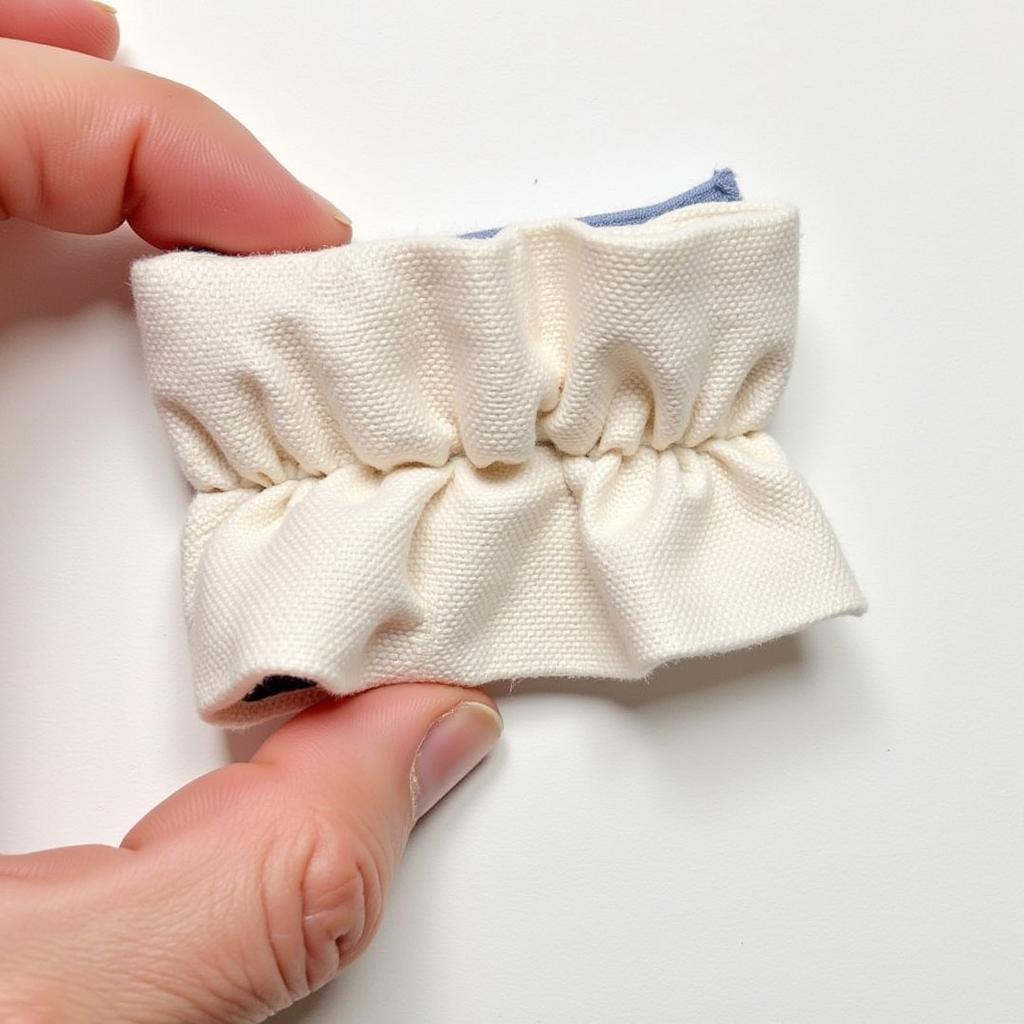
- Sew a basting stitch along the longer edge of your fabric strip. A basting stitch is a longer stitch used for temporary sewing and gathering fabric.
- Gently pull on the bobbin thread to gather the fabric, creating the ruffle effect. Adjust the gathers to your liking.
- Press the ruffled fabric with an iron to set the gathers and create a neater finish.
3. Attach the Ruffles to the Key Fob Blank:
- Place the ruffled fabric strip onto the key fob blank, aligning the raw edges.
- Use a sewing machine or needle and thread to sew the ruffled fabric to the key fob blank. Ensure the stitches are secure.
4. Finish the Edges:
- Fold over the raw edges of the fabric towards the back of the key fob blank.
- Topstitch along the folded edges to enclose the raw edges and create a polished look.
 Key fob with attached ruffles and edges being finished by folding and topstitching.
5. Attach the Hardware:
- Follow the manufacturer’s instructions to attach the swivel clasp and key ring to the key fob blank.
6. Personalize Your Key Fob:
- Get creative! Add your personal touch with decorative buttons, embroidery, beads, or charms.
Tips and Tricks
- If you’re new to sewing, practice your stitches on a scrap of fabric beforehand.
- Use fabric glue as an alternative to sewing for a no-sew approach.
- Experiment with different fabric textures and patterns for unique looks.
- Don’t be afraid to get creative with embellishments and personalize your key fob.
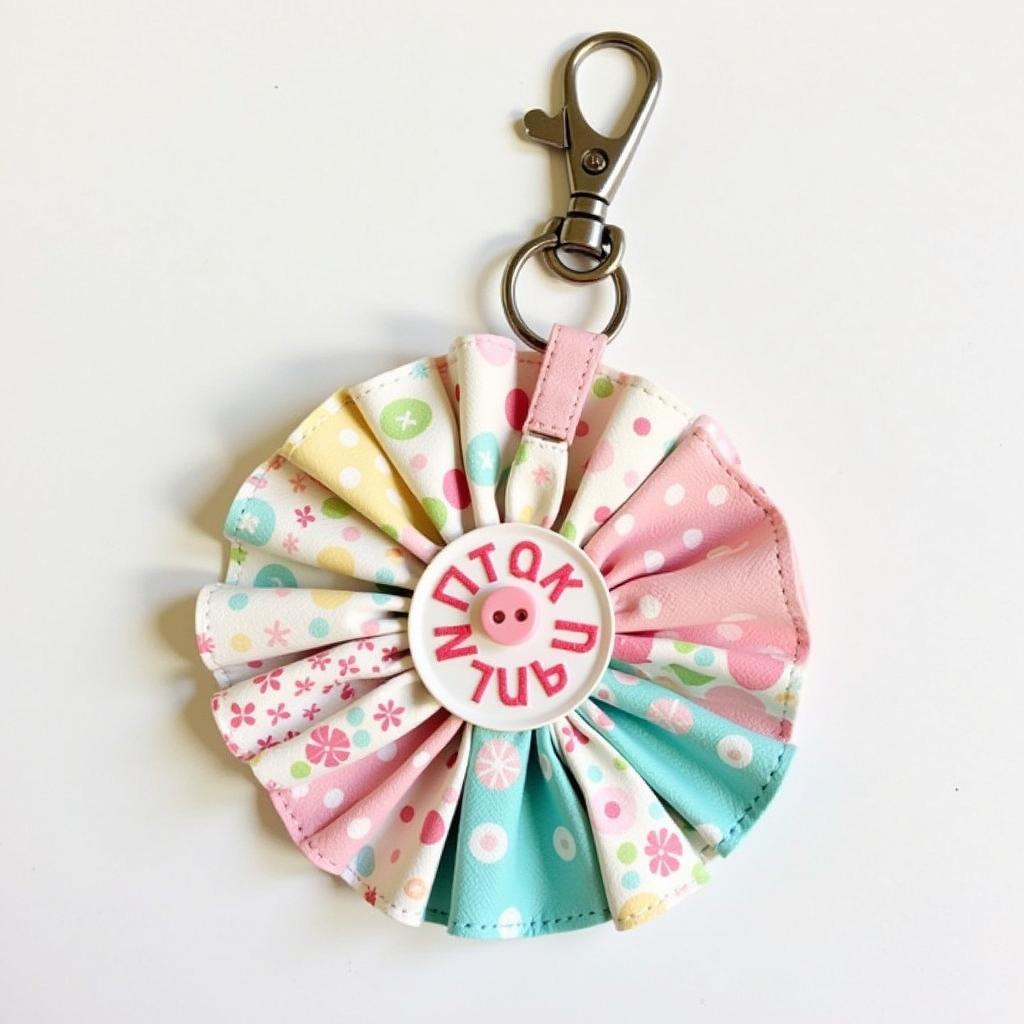
 Finished ruffled key fob with personalized embellishments.
Conclusion
Creating your own ruffled Key Fob is a fun and easy project that allows you to showcase your creativity while adding a touch of personality to your everyday items. With a few simple materials and these easy-to-follow steps, you’ll have a stylish and functional accessory in no time!

Leave a Reply