Key fobs are an integral part of modern vehicle convenience, allowing for keyless entry, remote start, and alarm systems. However, like any electronic device, they sometimes need maintenance, most commonly battery replacement. Knowing how to open your fob key is the first crucial step in these situations. This guide will walk you through the process of safely opening your key fob without damage, ensuring you can access the battery compartment or perform other necessary maintenance.
Identifying Your Key Fob Type
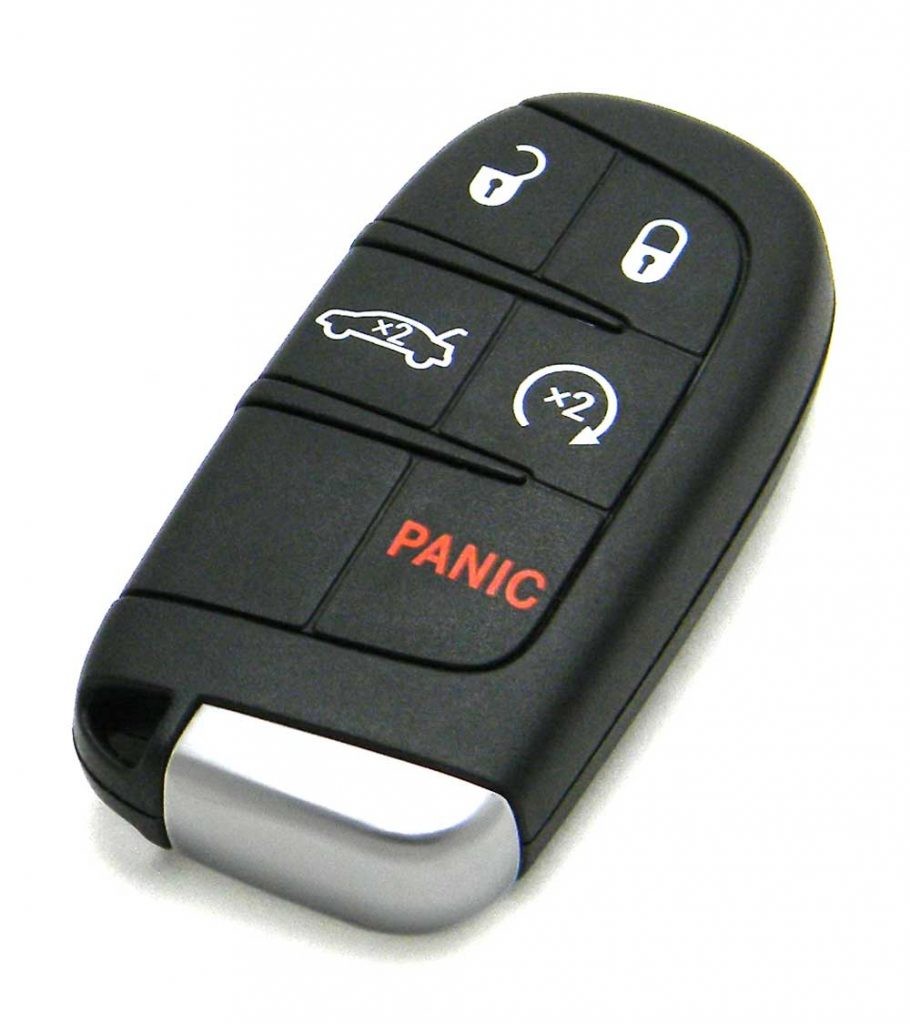
Before attempting to open your fob key, it’s helpful to understand the basic types. Most modern fobs fall into two main categories:
- Integrated Key Fobs: These fobs have the emergency key hidden inside the fob body itself. You usually need to remove this physical key first to access the opening point.
- Standard Key Fobs: While less common now, some older or simpler systems have fobs that are purely electronic without an integrated physical key. Opening these might involve slightly different approaches, but the principle of carefully prying them apart remains similar.
This guide primarily focuses on integrated key fobs, as they are the most prevalent.
Step 1: Remove the Emergency Key
Nearly all integrated key fobs contain a mechanical emergency key. This key serves as a backup if your fob battery dies or the electronic system malfunctions. Removing this key is usually the first step to opening the fob casing.
Look for a small release button or latch on your fob. It’s often a different color or texture than the main fob body to make it easily identifiable. Press or slide this release while gently pulling on the key portion of the fob. The emergency key should slide out smoothly.
Once the emergency key is removed, it often reveals the next step in opening the fob.
Step 2: Locate the Opening Point
With the emergency key removed, inspect the area where the key was housed. You should now see a seam or a small notch along the edge of the fob. This is the designated opening point. Manufacturers design fobs to snap together, and this seam is where the two halves of the casing meet.
Sometimes, there might be a small arrow or indicator pointing to this spot. The goal is to gently separate these two halves along this seam to access the internal components.
Step 3: Carefully Pry the Fob Open
This step requires a delicate touch. You’ll need a thin, flat tool to insert into the opening seam and gently pry the fob halves apart. A small flathead screwdriver, a plastic trim removal tool (preferred to avoid scratches), or even the tip of the emergency key itself can work.
Insert the tip of your chosen tool into the seam you located in Step 2. Apply gentle pressure, twisting or levering the tool to start separating the two halves of the fob. Work your way around the seam gradually, applying slight pressure at different points. Avoid forcing it too much at one point, as this could damage the plastic casing.
Important Note: The first time you open a fob, it might be a bit stiff. The latches are designed to be secure. Be patient and work your way around the fob, applying gentle, consistent pressure. Once you hear a slight clicking or popping sound, it indicates the casing is beginning to separate.
Step 4: Accessing the Battery Compartment
Once you have successfully pried the fob open, you’ll be able to separate the two halves completely. Inside, you will see the battery compartment and the electronic components of your key fob.
At this stage, you can proceed with your intended task, whether it’s replacing the battery or inspecting the internal components. When replacing the battery, always note the orientation of the old battery before removing it to ensure you install the new one correctly.
Reassembling Your Fob Key
After completing your task, carefully align the two halves of the fob casing back together. Press firmly until you hear a clicking sound all around the perimeter, indicating that the latches have re-engaged and the fob is securely closed. Finally, slide the emergency key back into its housing until it clicks into place.
Test your fob to ensure it’s working correctly by locking and unlocking your car remotely. With a little patience and care, opening your fob key is a straightforward process that can save you time and money on simple maintenance tasks.
For visual learners, we offer instructional videos on our YouTube channel! Consider subscribing for more helpful automotive tips and guides.
If you prefer professional assistance or encounter any difficulties, our expert team at keyfobx.com is here to help. Contact us today!