Is your car key fob not working as reliably as it used to? Often, the culprit is a dead battery. Before you rush to a dealership or auto repair shop, you might be surprised to learn that changing a key fob battery is a straightforward task you can easily do yourself. This guide will walk you through the process of opening your key fob to replace the battery, saving you time and money.
First, gather the few simple tools you’ll need: a small flathead screwdriver (like those used for eyeglasses repair) and a new battery of the correct type for your key fob. You can usually find the battery type listed in your car’s owner’s manual or by checking the old battery once you open the fob.
Let’s get started with opening your key fob.
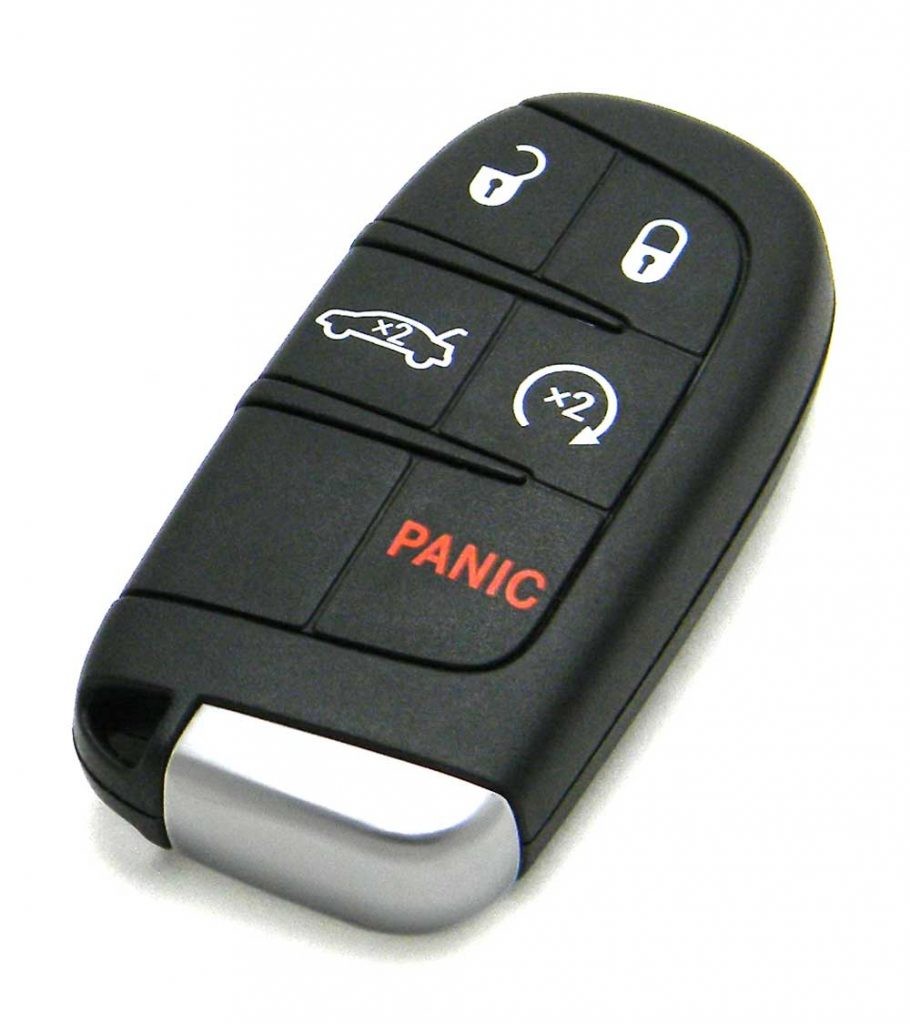
Step 1: Remove the Detachable Key
Most modern key fobs include a physical, detachable key for manual door unlocking. This key is usually hidden but easily accessible. Look for a button or release catch on your key fob, often located on the side or bottom. Press and hold this release while gently pulling out the mechanical key.
Image: Detachable metal key being removed from a Dodge key fob, highlighting the release mechanism and the separate key component.
Step 2: Pry Open the Key Fob Casing
With the mechanical key removed, you’ll now see a small notch or seam where the two halves of the key fob casing meet. This is where you’ll use your small screwdriver to gently pry the fob open.
Insert the tip of your flathead screwdriver into the notch. Apply gentle but firm pressure and twist the screwdriver to separate the two parts of the fob. Be patient and work your way around the seam, gently prying at different points until the casing begins to split open. The latches can be quite tight, especially the first time you open the fob.
Image: Close-up view of a key fob being carefully pried open using a small screwdriver, demonstrating the point of insertion and the separation of the casing.
Take care not to apply excessive force, as you could damage the plastic casing. Work slowly and methodically. Once you have created a small opening, you can often use your fingers to gently pull the two halves completely apart.
Step 3: Access and Replace the Key Fob Battery
Once the key fob is open, you’ll see the battery inside. Pay close attention to the orientation of the battery before removing it. Note which side is facing up (usually the positive side marked with a “+”) and how it sits in the compartment. This is crucial for installing the new battery correctly.
Image: Interior of an open key fob, clearly showing the battery and its placement within the electronic components, emphasizing the battery type and orientation.
Carefully remove the old battery. You might be able to gently pry it out with your small screwdriver or use your fingernail. Install the new battery, ensuring it is placed in the exact same orientation as the old one.
Step 4: Reassemble Your Key Fob
With the new battery in place, carefully align the two halves of the key fob casing. Press them firmly together until they snap back into place. You should hear a clicking sound, indicating that the casing is securely closed.
Finally, slide the detachable mechanical key back into the fob until it clicks and locks into position.
Test your key fob by pressing the lock and unlock buttons to ensure it’s working properly. If everything works, you’ve successfully replaced your key fob battery!
Changing your key fob battery is a simple DIY task that can save you a trip to the mechanic. By following these steps, you can easily open your key fob and get your remote working again in no time. If you encounter any difficulties or prefer professional assistance, remember that your local auto service experts are always ready to help.