Is your car key fob struggling to unlock your doors or start your engine? It might be time for a battery replacement. Many people assume a dead key fob requires a trip to the dealership and an unnecessary expense. However, changing your key fob battery is often a straightforward process you can easily do yourself at home. This guide will walk you through the simple steps on how to open your key fob and replace the battery, saving you time and money.
To get started, you’ll need to gather a few common household items.
Tools You’ll Need
Before you begin, make sure you have these simple tools on hand:
- Small Screwdriver: A flathead screwdriver, often used for eyeglasses repair, is ideal. Its thin blade will help you gently pry open the key fob casing without causing damage.
- New Battery: Identify the correct type of battery for your key fob. You can usually find this information in your vehicle’s owner’s manual or by opening the key fob and checking the existing battery. Common types include CR2032 and CR2025.
- Your Key Fob: Of course, you’ll need your car’s key fob!
Once you have your tools ready, let’s proceed with opening your key fob.
Step-by-Step Guide to Opening Your Key Fob
Most key fobs are designed to be opened with minimal effort. Follow these steps to safely access the battery compartment:
Step 1: Remove the Mechanical Key
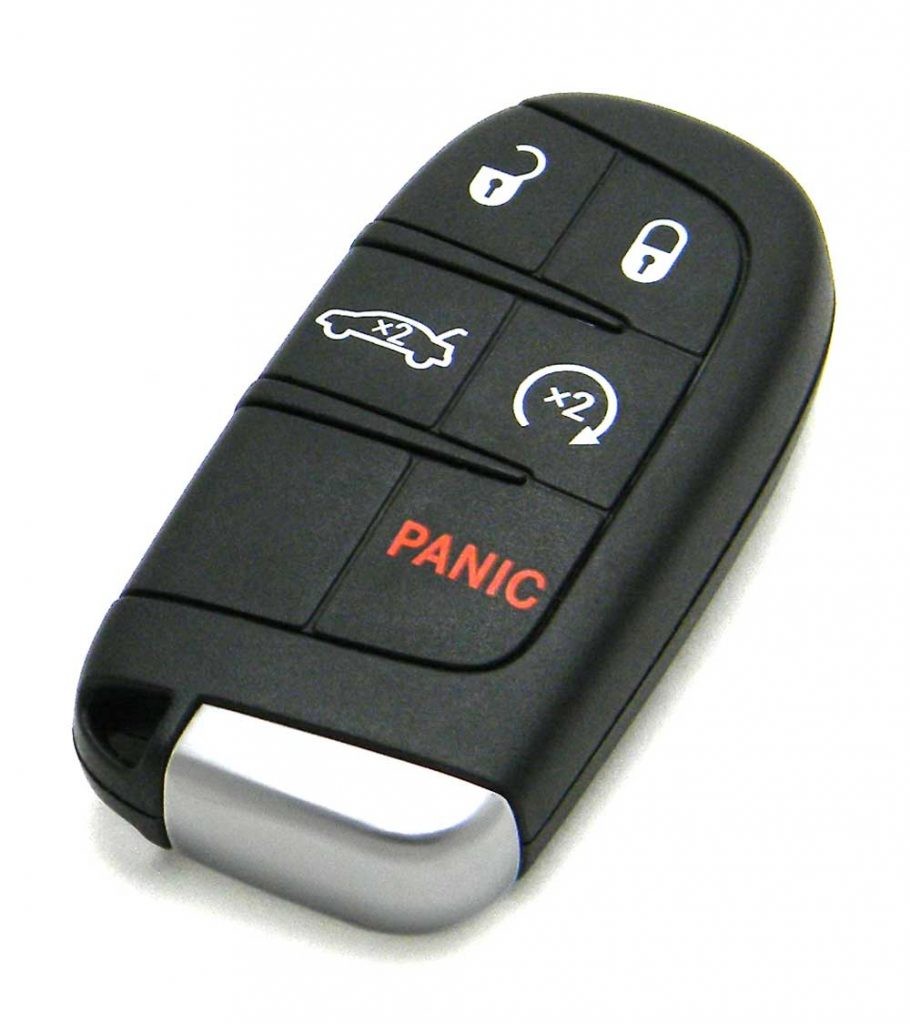
Many key fobs contain a detachable mechanical key for manual door unlocking. Locate the release button or latch on your key fob. This is often a small button, usually silver or gray, that contrasts with the main fob color. Press and hold this release while gently pulling out the mechanical key.
The silver portion at the bottom of this Dodge key fob is the removable mechanical key, detached by pressing a release.
Removing the mechanical key often reveals the point where you need to open the fob casing.
Step 2: Pry Open the Key Fob Casing
With the mechanical key removed, you’ll typically find a small notch or seam along the edge of the key fob. This is where you’ll insert your small screwdriver to gently pry the casing open.
An arrow highlights the location on the key fob where to insert a small tool to begin prying open the casing and access the battery.
Carefully insert the tip of your flathead screwdriver into this notch. Apply gentle pressure and twist the screwdriver to begin separating the two halves of the key fob casing. Work your way around the seam, gently prying as you go. The latches holding the fob together can be snug, especially the first time it’s opened, so be patient and avoid using excessive force that could damage the plastic.
A small screwdriver is carefully inserted into the seam of the key fob to gently pry apart the two halves of the casing.
Once you have worked around the entire seam, the front and back plates of the key fob should separate, revealing the battery inside.
Replacing the Battery
Now that your key fob is open, you can access the battery compartment.
Step 3: Identify and Replace the Battery
Before removing the old battery, take a moment to observe its orientation. Note which side is facing up (positive or negative) and how it sits in the compartment. This will ensure you install the new battery correctly.
This image shows the exposed battery within the opened key fob, illustrating its position before removal and replacement.
Gently remove the old battery. It may pop out easily or you might need to use the tip of your screwdriver to help dislodge it. Install the new battery, ensuring it’s placed in the correct orientation, matching how the old battery was positioned.
Closing Up Your Key Fob
With the new battery in place, it’s time to reassemble your key fob.
Step 4: Reassemble the Key Fob
Carefully align the two halves of the key fob casing. Press them firmly together until they snap back into place. You should hear a clicking sound, indicating that the latches are securely fastened. Ensure there are no gaps between the two halves of the casing.
Once reassembled, test your key fob by pressing the lock and unlock buttons to confirm it’s working correctly. Finally, slide the mechanical key back into its slot until it clicks into place.
Congratulations! You’ve successfully opened your key fob and replaced the battery. This simple DIY task can save you a trip to the mechanic and keep your key fob working reliably. If you encounter any difficulties or are unsure about any step, consulting your vehicle’s owner’s manual or seeking assistance from a professional is always a good idea.