Key fobs are incredibly convenient, allowing us to lock, unlock, and even start our cars with the push of a button. However, like all batteries, the one in your key fob will eventually die. Instead of rushing to a dealership and spending unnecessary money, you can easily replace the battery yourself. This guide will walk you through the simple steps on how to open your key fob and change the battery, saving you time and money.
Before you begin, gather the few items you’ll need for this quick task. Typically, changing a key fob battery requires just a small flathead screwdriver and the correct replacement battery. Knowing your key fob battery type beforehand will make the process even smoother. Common types include CR2032, CR2025, and CR1620, often indicated on the old battery itself.
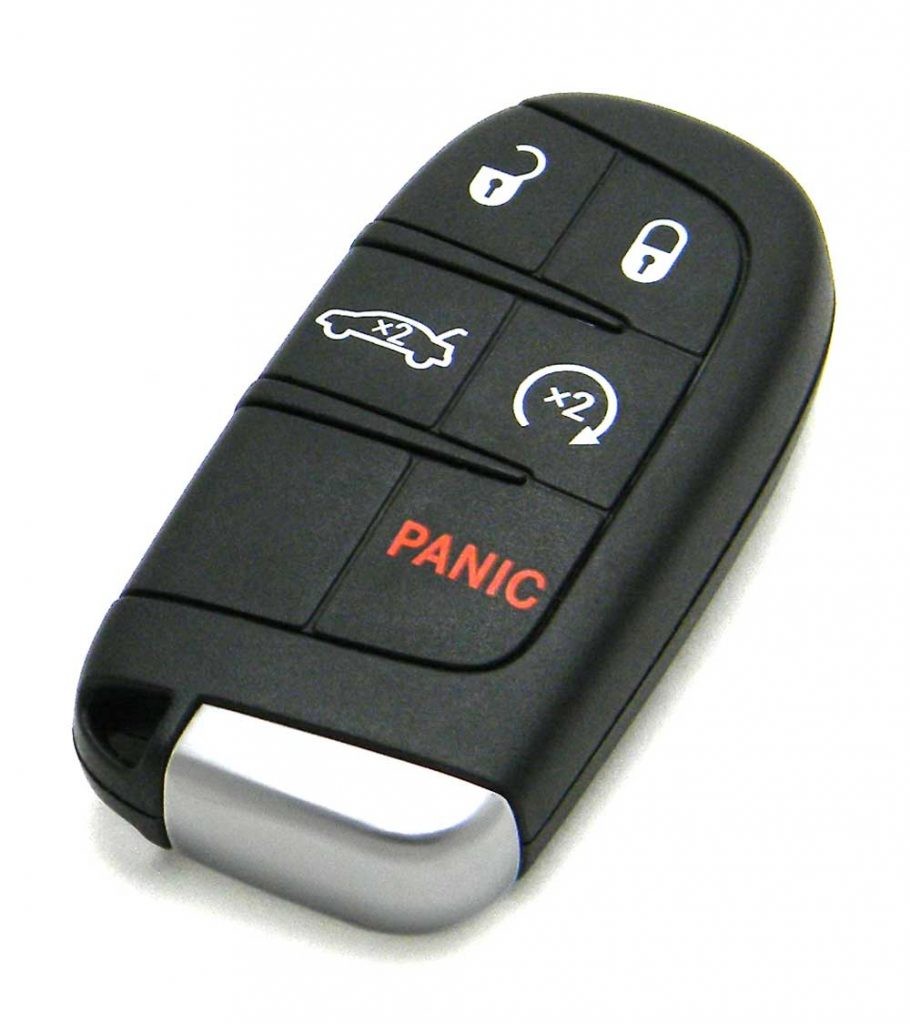
Step-by-Step Guide to Opening Your Key Fob
Opening your key fob is usually straightforward, but it’s important to be gentle to avoid damage. Follow these steps for a successful battery replacement:
Removing the Emergency Key (If Applicable)
Many modern key fobs contain a hidden mechanical key for emergency access to your vehicle. This key usually needs to be removed first to expose the key fob casing and any screws or entry points. Look for a small release button or latch, often located on the side or bottom of the fob. Press or slide this release while gently pulling the key portion away from the fob body.
Locating the Opening Point
Once the emergency key is removed (if applicable), examine the key fob casing for a seam or notch. This is where you’ll insert your screwdriver to gently pry the fob open. The opening point is often a thin line running along the edge of the fob, or a small indentation specifically designed for this purpose.
Prying Open the Fob
Now, carefully insert the tip of your flathead screwdriver into the identified opening point. Apply gentle pressure and twist the screwdriver to start separating the two halves of the key fob. Work your way around the seam, slowly and patiently prying the case open. Avoid using excessive force, as this could damage the plastic casing. If the fob is particularly tight, try working around the entire seam gradually rather than focusing on one spot.
Replacing the Battery
With the key fob open, you’ll now see the battery. Take a moment to observe how the old battery is positioned before removing it. Note the positive (+) and negative (-) sides, as the new battery needs to be inserted in the same orientation.
Identifying Battery Orientation
Pay close attention to the battery placement. Usually, the positive side (+) faces upwards, but it’s always best to double-check the existing battery’s orientation. You might see small symbols inside the battery compartment indicating the correct polarity.
Inserting the New Battery
Remove the old battery, and insert the new battery, ensuring it matches the correct type and orientation. Push the new battery firmly into place until it is securely seated in the compartment.
Closing the Key Fob
To reassemble the key fob, align the two halves of the casing and press them firmly together until they snap back into place. You should hear a click, indicating that the fob is securely closed. Once closed, test the key fob buttons to ensure it’s working correctly. Finally, re-insert the emergency key if you removed it earlier.
Changing your key fob battery is a simple task that most car owners can handle themselves. By following these steps, you can avoid unnecessary dealership visits and keep your key fob working reliably.