Ever found yourself locked out because your key fob suddenly stopped working? It’s a common inconvenience, often signaling a dead battery. Before you rush to a dealership or auto shop, you should know that in many cases, changing your key fob battery is a simple task you can handle yourself. This guide will walk you through how to open your fob key safely and easily, so you can replace the battery and get back on the road without delay.
Tools You’ll Need
Before you begin, gather these simple tools:
- A small flathead screwdriver (jewelry size works best)
- A new replacement battery (check your owner’s manual or the old battery for the correct type – usually CR2032, CR2025, or CR1620)
- Your key fob
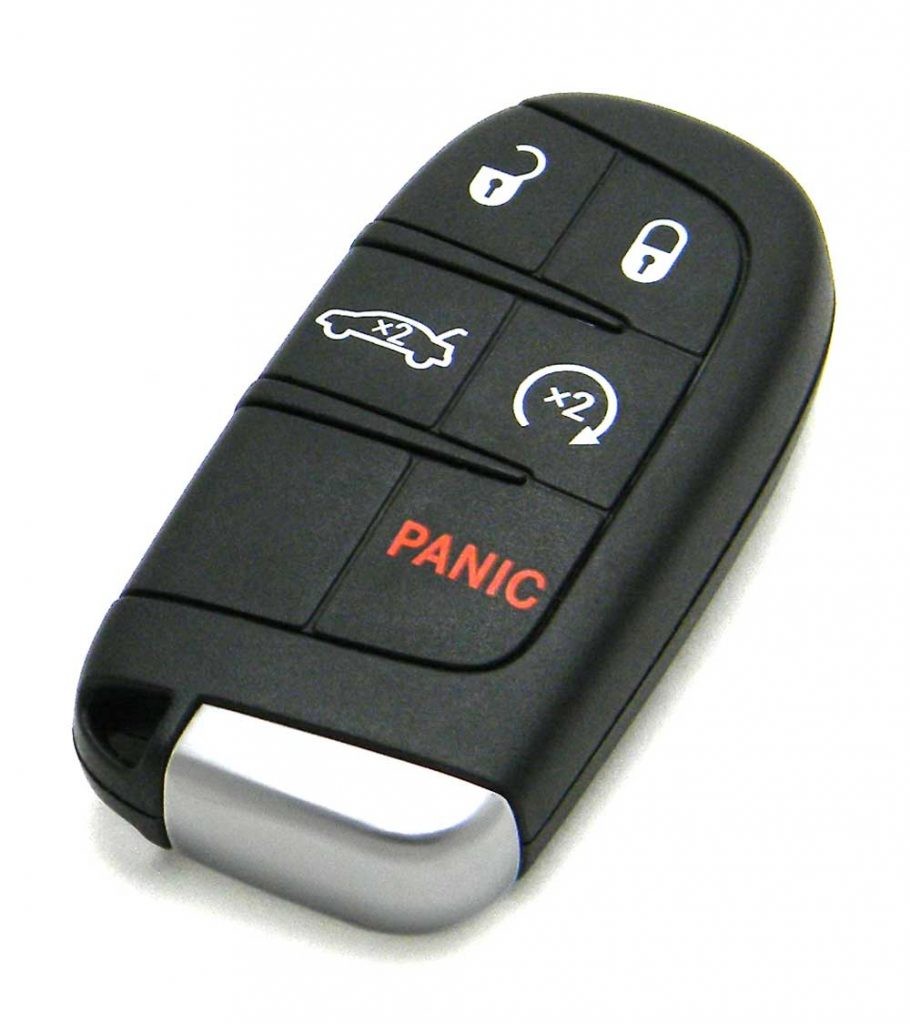
Step-by-Step Guide to Opening Your Fob Key
Opening your key fob is the first crucial step to battery replacement. Follow these instructions carefully:
Step 1: Remove the Mechanical Key (if applicable)
Many modern key fobs contain a physical, mechanical key for emergency access. Locate the release button or latch on your fob. It’s often a small, differently colored part of the fob. Press or slide this release to detach the mechanical key. Set the key aside.
Step 2: Locate the Opening Point
With the mechanical key removed (if applicable), examine your key fob closely. Look for a small seam or slot running along the edge of the fob. This seam is where the two halves of the fob case join together. Sometimes, there might be a small notch or arrow indicating the best point to begin prying.
Step 3: Pry the Fob Open Gently
This step requires a delicate touch. Insert the tip of your small flathead screwdriver into the seam or notch you identified. Gently twist the screwdriver to begin separating the two halves of the fob. Work your way around the seam, applying slight pressure to pop the latches apart. Avoid using excessive force, as you could damage the fob casing. If it’s particularly stubborn, try working from a different point along the seam.
Replacing the Battery
Once you have successfully opened your fob key, you’ll have access to the battery compartment.
Step 4: Identify Battery Type and Orientation
Before removing the old battery, take a close look at how it is positioned. Note the “+” (positive) and “-” (negative) sides. Also, take note of the battery type number printed on the battery itself (e.g., CR2032). This ensures you replace it with the correct type and orientation.
Step 5: Insert New Battery
Carefully remove the old battery. You might be able to gently pry it out with your screwdriver if needed. Insert the new battery, making sure the polarity (+ and – sides) matches the original battery’s orientation.
Reassembling Your Fob Key
With the new battery in place, it’s time to put your key fob back together.
Step 6: Snap the Fob Back Together
Align the two halves of the key fob case. Press them firmly together until they snap securely back into place. You should hear a click or feel the case close completely, ensuring a tight seal.
Step 7: Test Your Fob Key
Finally, test your key fob by pressing the lock and unlock buttons. The doors should respond as expected. If your fob is working correctly, replace the mechanical key if you removed it earlier. You’ve successfully opened your fob key and replaced the battery!
While opening a fob key and changing the battery is often straightforward, some models can be more intricate. If you encounter difficulty or are unsure, consulting your vehicle’s owner’s manual or seeking assistance from a professional is always a good option.