Having a push-to-start key fob is incredibly convenient, until it stops working. A non-responsive key fob can prevent you from starting your car and even locking or unlocking your doors. Whether your key fob has malfunctioned or you’ve obtained a replacement, reprogramming it might be necessary. Fortunately, many push start key fobs can be programmed at home with a few straightforward steps.
Before assuming your key fob needs reprogramming, it’s wise to rule out the most common culprit: dead batteries.
Step 1: Get Inside Your Vehicle
Begin by entering your vehicle and settling into the driver’s seat. Ensure all doors are completely closed. This is crucial as the programming process often requires a closed environment to prevent interference.
Step 2: Identify the Programming Button
Vehicles equipped with push-to-start systems typically include a programming button to facilitate key fob pairing. This button is often located within the ‘transmitter compartment’. The transmitter compartment’s location can differ depending on your car’s make and model, but common places include the driver’s side door panel or inside the center console, often beneath an armrest. Look for a small compartment door, which might be labeled “transmitter” or something similar. Inside, you should find a button explicitly labeled “program” or something similar indicating its function for key programming. If you are unable to locate this button, your vehicle’s owner’s manual is your best resource for specific instructions and location details. Once found, press this program button to initiate the key fob learning sequence.
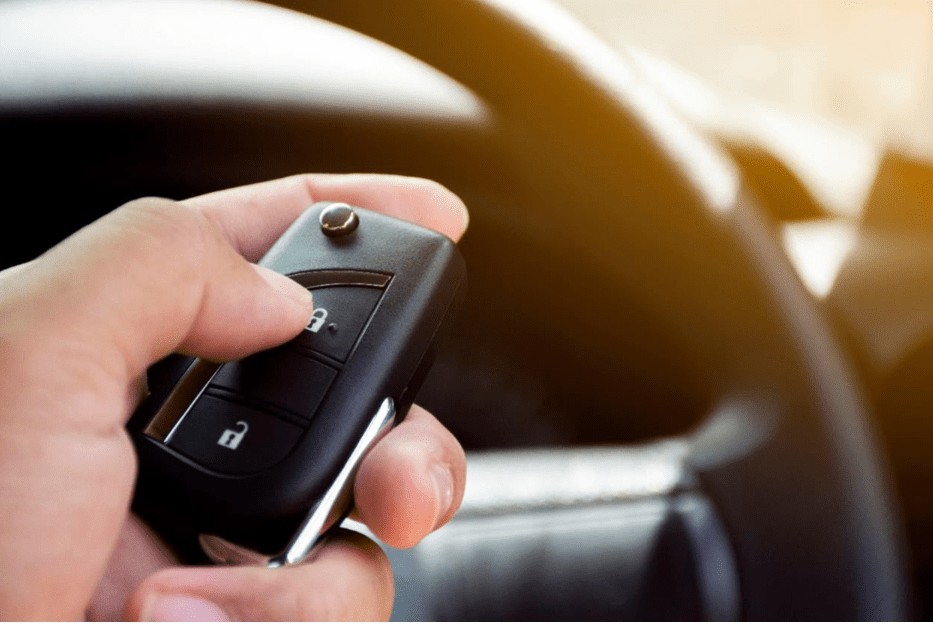 Vehicle Push Start Key Fob Programming Button Location
Step 3: Initiate Key Fob Pairing
With the program button pressed and held, immediately take your key fob and press and hold any button on it. Continue holding both buttons simultaneously. The vehicle will need a few seconds to recognize the signal from your key fob. You’ll usually see a visual confirmation that a connection is being established. This confirmation might be in the form of flashing lights, often the door lock lights, or an audible chime. This pairing process typically takes around three seconds or slightly longer.
Step 4: Finalize the Key Fob Programming
After holding the key fob button for a few seconds, release the button on your key fob while continuing to hold the vehicle’s program button for a moment longer as instructed in your vehicle’s manual if specified. If the programming is successful, you should observe a steady light indicator, often from the same lights that flashed during the pairing process. This steady light usually confirms that the key fob has been successfully programmed to your vehicle. It may take a few more seconds for the system to fully register the new key fob, so allow a short pause.
Step 5: Verify Key Fob Functionality
To ensure the key fob programming was successful, test all of its functions. Try locking and unlocking your car doors using the key fob buttons. If your vehicle is equipped with remote start, test this feature as well. If all functions are working as expected, you have successfully programmed your push start key fob. If you encounter continued problems, it might indicate an issue beyond simple programming. In such cases, consider if you might need a replacement key fob. You can find a wide selection of replacement smart key remotes online, often at significantly lower prices than dealerships. Alternatively, for more complex issues or if DIY programming isn’t working, seeking assistance from a professional locksmith specializing in automotive key programming is a recommended next step. They possess specialized tools and expertise to handle various key fob programming needs.