Is your car key fob acting up? Perhaps you have to press the buttons multiple times for it to work, or maybe it’s completely dead. One of the most common culprits is a dead battery. Luckily, replacing the battery in your key fob is a straightforward task you can easily do yourself, saving you time and money compared to a dealership visit. This guide will walk you through the simple steps on how to put a new battery in your key fob and get you back on the road with a fully functional remote.
What You’ll Need
Before you begin, gather these simple tools:
- A new key fob battery: The type of battery you need will vary depending on your car’s make and model. Common types include CR2032, CR2025, or CR1632. Check your owner’s manual or the old battery for the correct type.
- A small flathead screwdriver or similar tool: This will be used to gently pry open the key fob casing. A small coin or even the emergency key from your fob can sometimes work as well.
Step-by-Step Guide to Replacing Your Key Fob Battery
Let’s get started with the battery replacement process. Follow these easy steps:
Step 1: Remove the Emergency Key
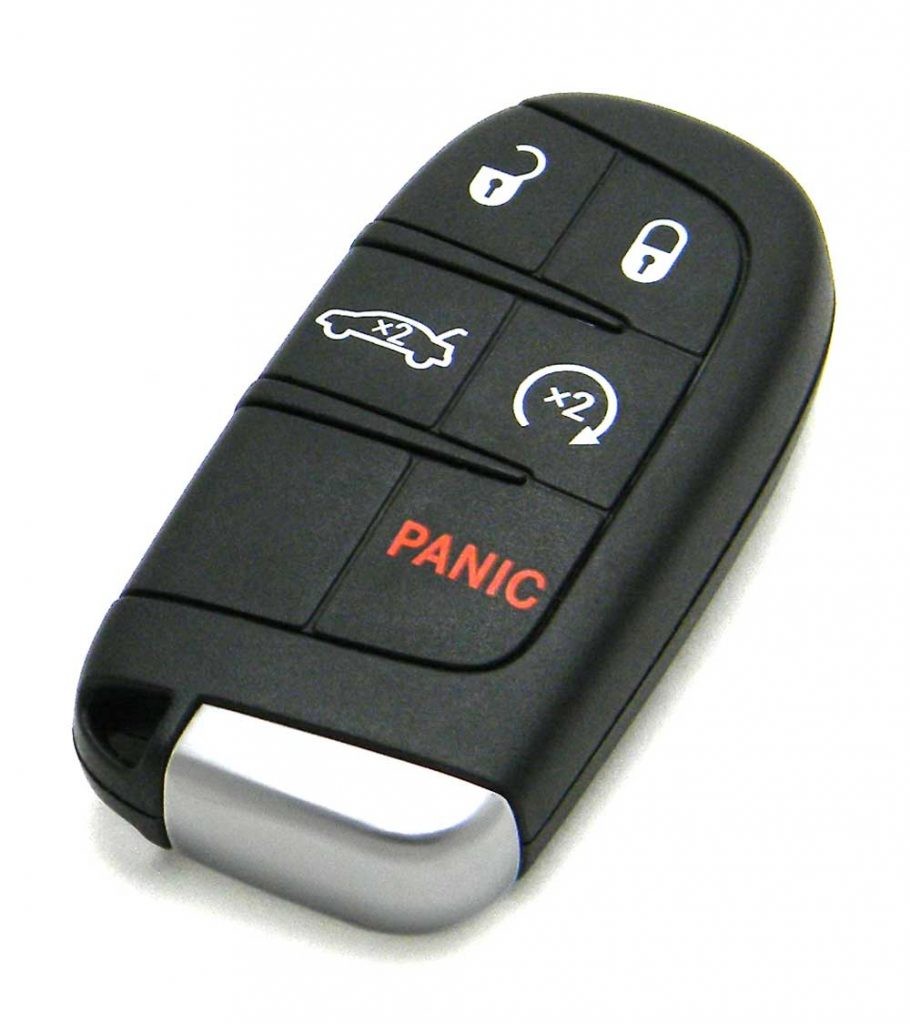
Most key fobs have a mechanical emergency key hidden within them. This key can be used to manually unlock your car door if the fob battery is dead. Locate the release button or latch on your key fob. It’s often a small button or slider, usually in a different color from the main fob casing. Press or slide this release to detach and remove the emergency key.
Step 2: Open the Key Fob Casing
With the emergency key removed, you’ll now have access to the key fob casing. Look for a small slot or seam where the two halves of the fob casing join together. This is usually located where the emergency key was just removed. Carefully insert your small flathead screwdriver or prying tool into this slot. Gently twist or pry to separate the two halves of the key fob casing. Be patient and work your way around the seam, as the casing may be snapped together tightly.
Step 3: Replace the Old Battery with a New One
Once the key fob is open, you’ll see the battery. Pay close attention to the orientation of the old battery before removing it. Note which side is facing up (usually the positive side marked with a “+”) and how it’s positioned in the compartment. Gently remove the old battery. You might be able to pry it out with your small screwdriver or use your fingernail. Insert the new battery, ensuring it’s placed in the same orientation as the old one. The positive (+) side should typically face upwards.
Step 4: Reassemble the Key Fob
Carefully align the two halves of the key fob casing back together. Press them firmly until they snap securely back into place. You should hear a click indicating that the casing is properly closed.
Step 5: Test Your Key Fob
Finally, test your key fob to ensure it’s working correctly. Press the lock and unlock buttons to see if your car responds. If everything works as expected, congratulations! You’ve successfully put a new battery in your key fob. Reinsert the emergency key back into the fob, and you’re all set.
Changing your key fob battery is a simple DIY task that can save you from the inconvenience of a non-working remote. By following these steps, you can easily replace the battery and keep your key fob functioning smoothly. Remember to always double-check the battery type and orientation for optimal performance.