Ever found yourself needing to access the insides of your car key fob? Whether you’re aiming to replace the battery, or just curious about what’s inside, knowing how to take a key fob apart is a useful skill. This guide will walk you through the process simply and safely, ensuring you can open your key fob without damage.
Step 1: Remove the Mechanical Key
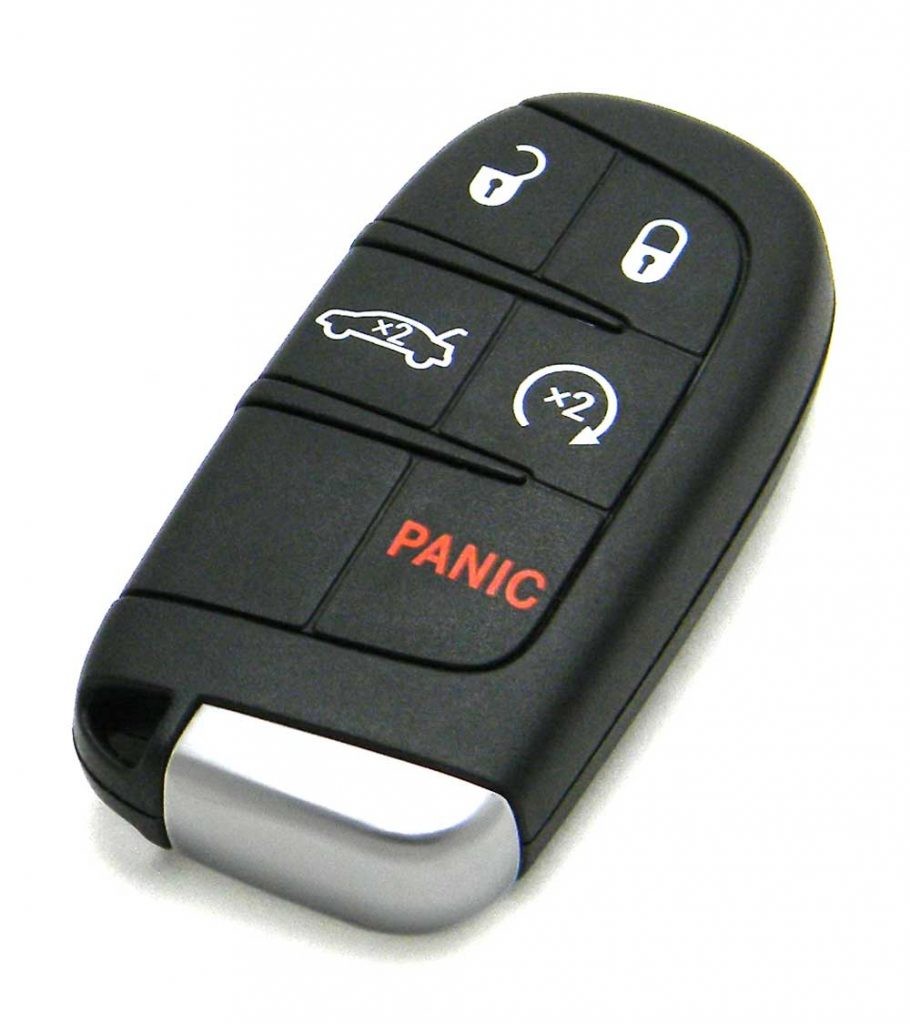
Most modern key fobs come with a detachable mechanical key hidden within the fob itself. This is usually a different color section on your fob. Locate the release button – it’s often a small button or latch near where the key section meets the main body of the fob. Press and hold this release while gently pulling the mechanical key away from the fob.
On many key fobs, the area where the key is removed reveals the next point of access for opening the casing. Take a close look at where the key was situated; you’ll likely find a seam or a small notch indicating where to begin prying the fob apart.
Step 2: Identify the Opening Point on Your Key Fob
With the mechanical key removed, examine the now exposed section of your key fob. You’re looking for a seam that runs along the edge of the fob casing. This seam is where the two halves of the key fob are joined together. Sometimes, there’s a small notch or arrow indicating the best place to insert a tool to begin separating the halves.
Step 3: Carefully Pry Apart the Key Fob Casing
This is where you’ll need a small, flat-head screwdriver or a similar slim, sturdy tool – even a guitar pick can work. Gently insert the tip of your tool into the seam or notch you identified in the previous step.
Apply gentle pressure and twist the screwdriver to start separating the two halves of the key fob. The casing is held together by small plastic clips, so you may hear a slight clicking sound as they release. Work your way around the seam, gently prying at different points until the two halves of the key fob come apart completely. Be patient and avoid using excessive force, as you don’t want to damage the plastic casing.
It’s worth noting that the first time you open your key fob, it might feel a bit stiff. This is normal, as the latches are designed to be secure. Just proceed carefully and methodically, and the fob will eventually open.
Accessing the Battery and Reassembly
Once you’ve successfully taken your key fob apart, you’ll have access to the battery and the internal components. If your goal was battery replacement, take note of the battery’s orientation before removing it – this will ensure you insert the new battery correctly.
When putting your key fob back together, align the two halves of the casing and press firmly until they snap back into place. You should hear a distinct clicking sound, indicating that the clips are securely fastened. Finally, reinsert the mechanical key. Test your key fob to ensure it’s working correctly.
Taking your key fob apart is a straightforward process when you know the steps. By following this guide, you can confidently access the inside of your key fob for battery replacement or general maintenance.
If you prefer a visual guide, we also offer instructional videos on our YouTube channel! Don’t hesitate to reach out to us at 641-648-4691 or email us! if you need further assistance with your key fob or any automotive service.