Key fobs are not just practical; they’re also a fantastic way to express your personal style and utilize leftover fabric scraps. If you’re looking for a quick, rewarding sewing project, crafting your own key fobs is the perfect answer. These little accessories make wonderful personalized gifts, charming stocking stuffers, or unique party favors. Plus, you probably already have most of the supplies you need! Let’s dive into how to create your own eye-catching key fobs.
Why Key Fobs are the Perfect DIY Project
Key fobs are an ideal craft for beginners and experienced sewers alike. They are incredibly quick to make, often taking less than 30 minutes from start to finish. This makes them a wonderfully satisfying project when you need a creative win in a short amount of time. Furthermore, key fobs are fantastic for using up those beautiful fabric scraps you’ve been saving. Instead of letting those lovely pieces gather dust, transform them into something functional and fashionable. Beyond personal use, handmade key fobs are thoughtful, personalized gifts for teachers, friends, and family. Their versatility extends to party favors, small business promotional items, or even craft fair inventory. Finally, key fobs are endlessly customizable. From fabric patterns and colors to hardware choices, you can create key fobs that truly reflect individual style and taste, making each one unique.
Gather Your Supplies for Key Fob Success
To begin your key fob adventure, gather these essential materials:
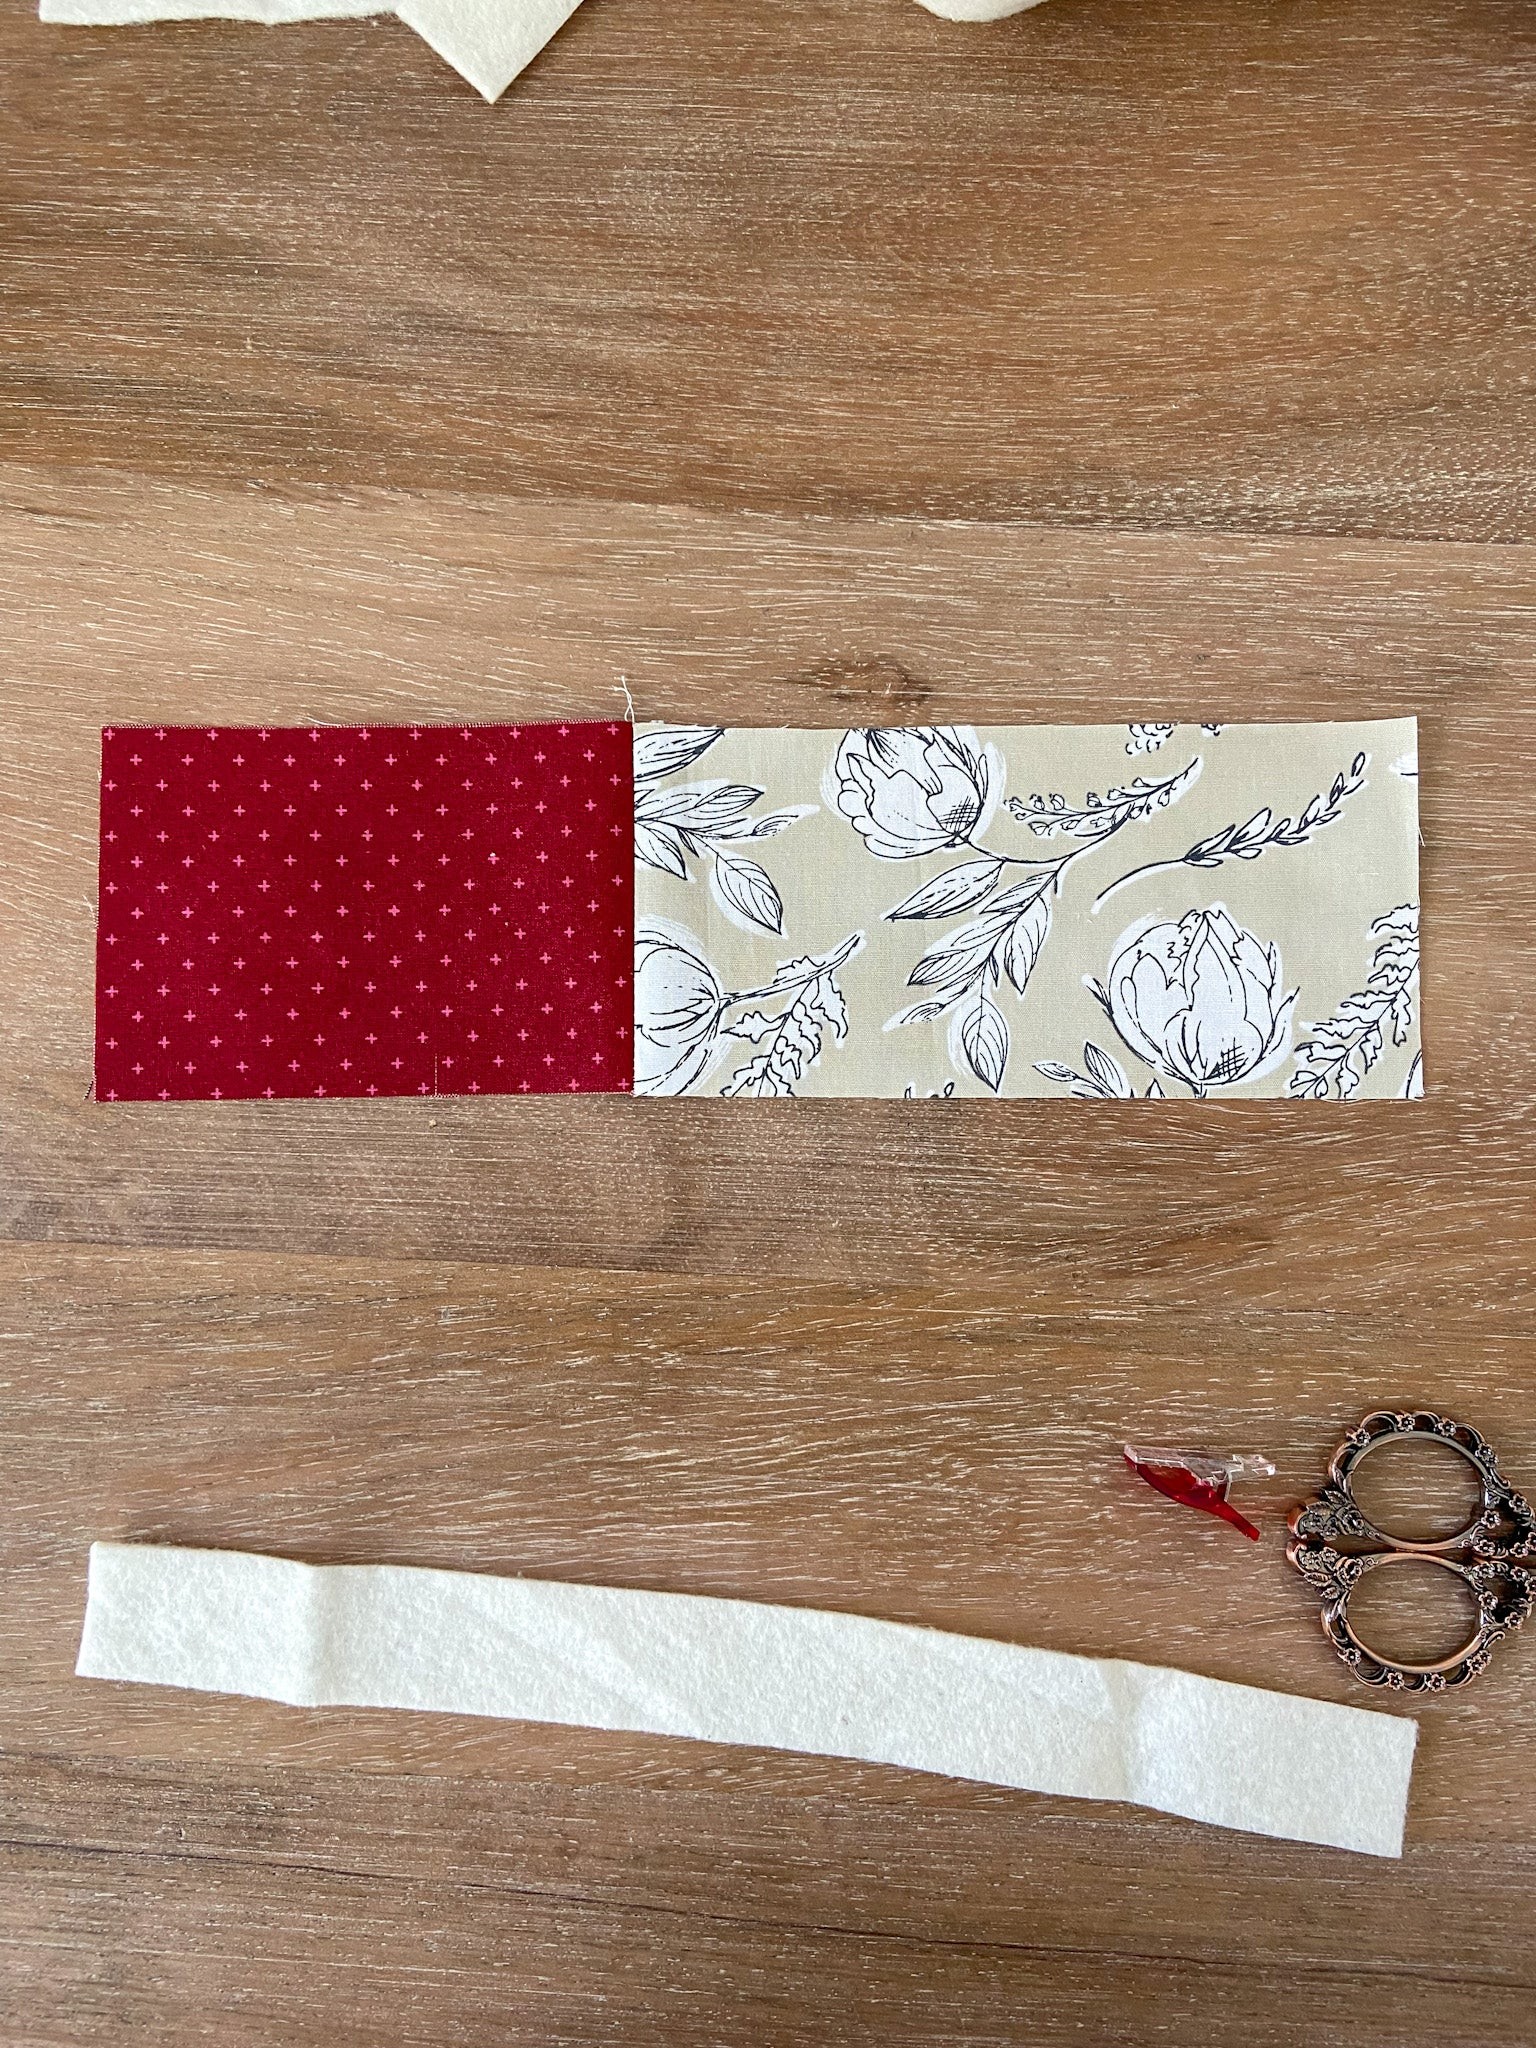
- Fabric Scraps: Choose two coordinating or contrasting fabric pieces. Cotton, linen, or even durable canvas scraps work well. The amount needed is minimal, making this a true scrap-busting project.
- Batting Scraps: A small piece of batting adds a bit of cushioning and structure to your key fob. Leftover quilt batting or even felt can be used.
- Key Ring Hardware: You’ll need a key ring for each key fob you plan to make. These are readily available at craft stores or online. Choose the size that best suits your preference.
- Sewing Machine: A sewing machine will make the process faster and more precise, but hand sewing is also possible if you prefer.
- Basic Sewing Tools: Include scissors or a rotary cutter, thread that matches your fabric, pins or clips, an iron, and a pressing surface.
Having everything ready before you start sewing will streamline the process and make it even more enjoyable.
Step-by-Step Guide to Sewing a Fabric Key Fob
Follow these detailed sewing instructions to create your own professional-looking key fobs:
Step 1: Prepare the Fabric Strips
- Cut two strips of fabric to your desired key fob dimensions. A common size is approximately 3 inches wide by 6 inches long. Adjust measurements as needed for different key ring sizes or desired fob length.
- Place the two fabric strips right sides together and sew along one of the short ends with a 1/4-inch seam allowance.
- Press the seam open with your iron to reduce bulk and create a flatter finish. This step is crucial for a professional look.
Step 2: Add Batting for Comfort
- Fold the fabric piece in half lengthwise, wrong sides together, aligning the long edges. Press a crease along the fold. This will serve as a guide for centering the batting.
- Open the fabric and place the batting strip inside, aligning it with the center crease. Ensure the batting is centered and leaves about 1/4 inch of fabric overhang on each side. This overhang allows for clean folded edges.
Step 3: Secure the Edges
- Fold one long edge of the fabric over the batting, pressing a crease as you go. Fold it over enough to encase the batting and create a clean edge.
- Repeat with the other long edge, folding it over to meet the first folded edge, enclosing the batting completely. Press another crease to secure this fold. Aim for a neat, even fold along the entire length.
Step 4: Attach the Key Ring Hardware
- Insert the folded fabric strip through the key ring hardware. Fold the fabric in half, aligning the raw short edges.
- Use clips to hold the folded edges together securely around the key ring. This will keep everything in place for sewing.
Step 5: Form the Loop and Sew
- Fold the key fob in half at the key ring hardware, aligning the raw edges of the fabric strip.
- Slightly unfold the raw edges to ensure the fabric layers are aligned for sewing. Carefully move the batting aside so you don’t stitch through it in this seam, which can add unnecessary bulk. Pin the raw edges together.
- Sew a 1/4-inch seam along the raw edges to create a closed loop. This seam joins the two ends of the fabric strip, forming the key fob loop.
Step 6: Refine and Finish the Edges
- Use your fingers to gently press the seam open. This helps reduce bulk and makes the seam lay flatter.
- Reposition the batting pieces so they are neatly butted against each other within the fabric fold. If they overlap after sewing the loop seam, trim the batting to ensure a smooth finish.
- Refold the fabric edges over the batting as they were originally, encasing the batting smoothly. Clip the edges together to secure them for the final stitching.
Step 7: Topstitch for a Professional Finish
- Begin topstitching approximately 1/8 inch from the edge around the entire loop of the key fob. Start with a generous thread tail (about 5 inches) from both the needle and bobbin. This will be used to bury the threads later.
-
Sew around the loop, moving the hardware and clips as needed. When you are about 2-3 inches away from your starting point, stop sewing with the needle in the down position.
-
To neatly finish the seam, pull one of the thread tails to bring the other thread tail to the same side of the fabric. Tie these two threads in a secure knot.
-
Thread a hand sewing needle with both thread tails and insert the needle close to the knot, bringing it out about 1-2 inches away, between the fabric layers (not through all layers).
- Gently pull on the threads to “pop” the knot and thread tails underneath the fabric surface. Trim the excess thread close to the fabric.
-
Continue topstitching until you meet your starting point, overlapping a bit. Bury the threads again using the same method.
-
Repeat this topstitching process for the opposite edge of the key fob loop to create a finished look on both sides.
Step 8: Secure the Hardware
- Position the key ring hardware in the center of the accent fabric section of your key fob.
- Stitch across the width of the key fob, close to the hardware, to secure it firmly. For extra durability, stitch forward, backward, and forward again over the same line. Bury the thread tails as you did in step 7.
Tips and Tricks for Perfect Key Fobs
- Fabric Choices: Experiment with different fabric types! Leather scraps, cork fabric, or even laminated cotton can create unique key fobs. Consider using heavier fabrics for more durability, especially for frequently used keys.
- Batting Alternatives: If you don’t have batting scraps, try using fusible fleece or even a layer of heavy interfacing for structure.
- Customization is Key: Personalize your key fobs with fabric markers, stamps, or even small embroidered designs before sewing. Adding names, initials, or fun patterns makes them extra special.
- Practice Makes Perfect: Don’t worry if your first key fob isn’t flawless. Like any craft, practice improves your technique and speed. Make a few to get comfortable with the process.
Show Off Your Handmade Key Fobs!
Congratulations, you’ve created your own stylish and functional key fobs! These little creations are ready to keep your keys organized and add a touch of handmade charm to your day. Share your finished key fobs with friends and family – they make wonderful gifts!
Fair warning: Making key fobs can be quite addictive! Once you start, you might find yourself wanting to create them in every color and pattern imaginable.
Download the printable PDF for this tutorial here.
Happy Sewing!