Key fobs are incredibly convenient until they stop working. Often, the culprit is a dead battery. Before you rush to a dealership or auto repair shop, you might be able to solve this problem yourself. The first step is learning how to Open Key Fob casings to access the battery compartment. This guide will walk you through the process of safely opening your key fob, so you can replace the battery and get back on the road. It’s a simpler task than you might think, and with a few basic tools, you can easily do it at home.
To get started, you’ll need to gather a few items. Typically, all you need is a small flathead screwdriver – the kind you might use for eyeglasses works perfectly. You’ll also need a replacement battery of the correct type for your key fob, and of course, your key fob itself. Having these items ready will make the process smooth and efficient.
Step-by-Step Guide to Opening Your Key Fob
Opening your key fob generally involves a couple of key steps. While designs can vary slightly between car manufacturers and models, the fundamental principles remain consistent.
Detaching the Manual Key
Many modern key fobs include a detachable mechanical key, which is often hidden. Locate the release button or latch on your key fob. This is frequently a small, differently colored portion of the fob, often metallic or silver. Press or slide this release to detach the manual key. Removing this key is usually the first step to accessing the internal components of your key fob.
Once the manual key is removed, you’ll usually see a small slot or seam exposed on the key fob casing. This is where you’ll insert your screwdriver to gently pry the fob open.
Prying the Fob Open
With the manual key removed, carefully insert the tip of your small flathead screwdriver into the slot or seam you identified. Gently twist or lever the screwdriver to begin separating the two halves of the key fob casing. Key fob casings are designed to be secure, so you may encounter some resistance. Work your screwdriver around the seam gradually, applying gentle pressure to avoid damaging the plastic. Be patient and avoid forcing it too aggressively. The goal is to separate the two pieces cleanly without breaking any of the internal components or the casing itself.
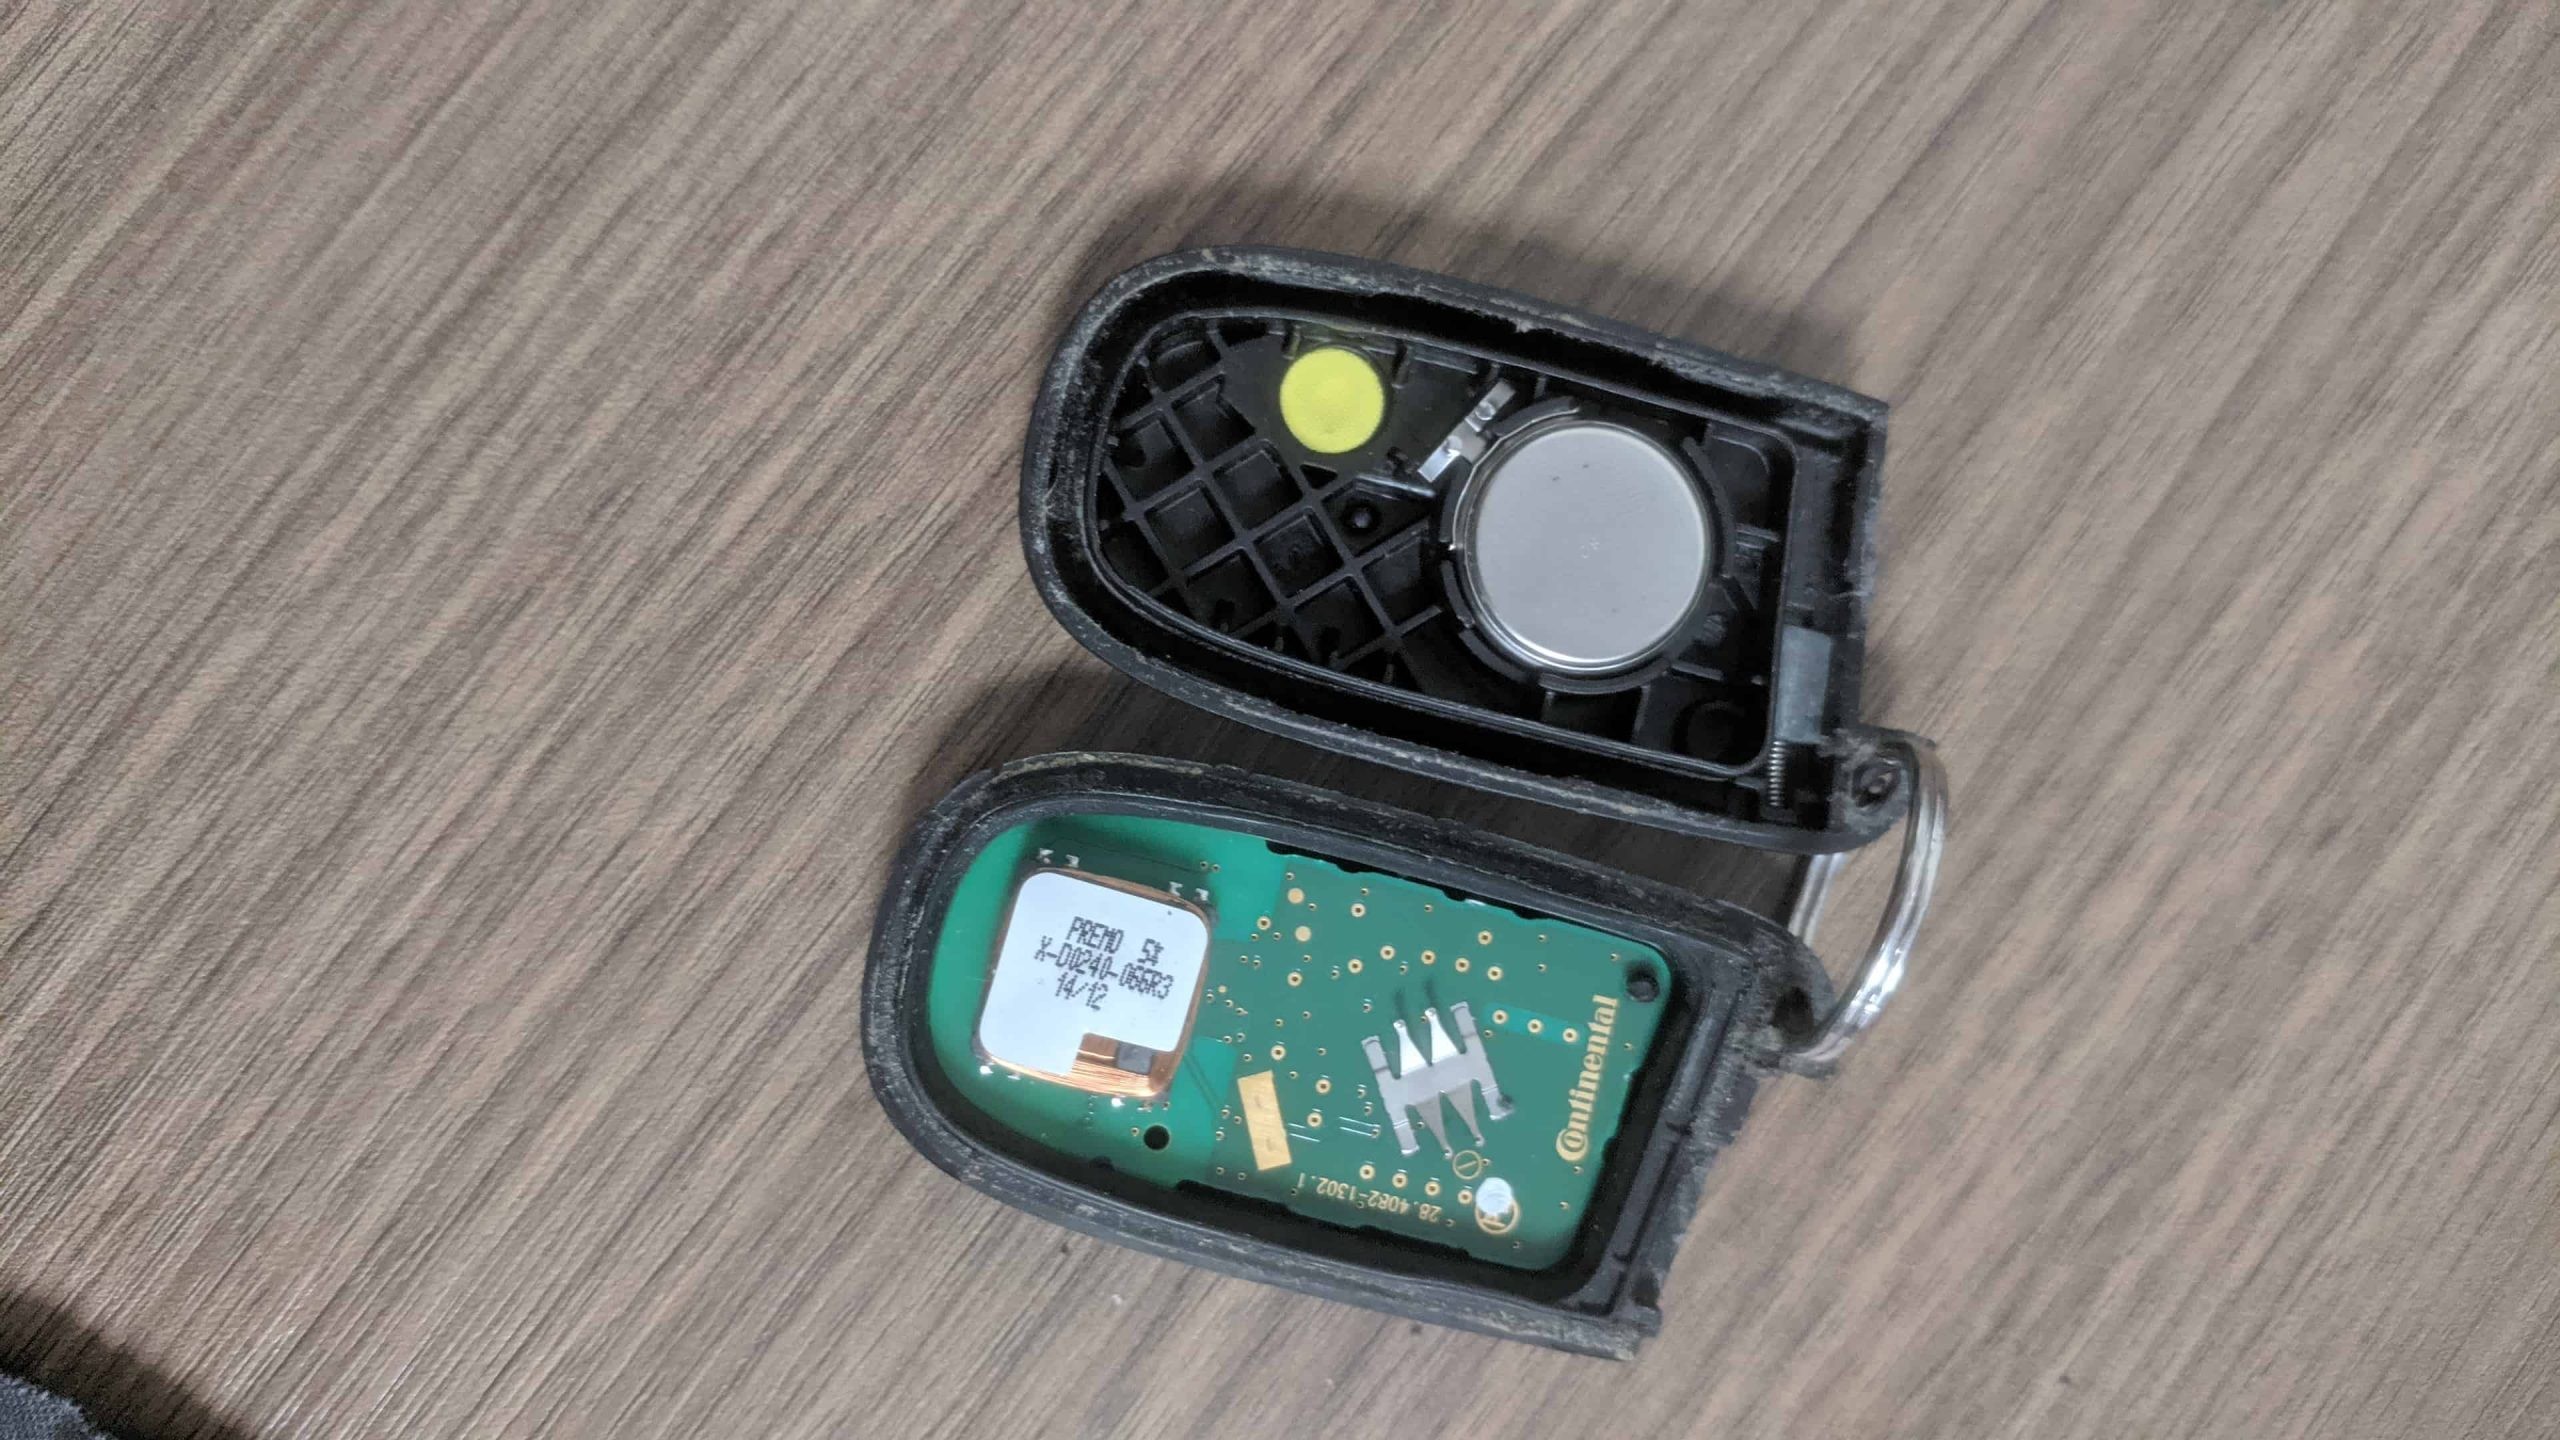
Once you have worked around the entire seam, the key fob should split into two halves, revealing the battery inside.
Replacing the Battery
With the key fob open, you will see the battery. Take a moment to observe how the battery is positioned before removing it. Note the positive (+) and negative (-) terminals to ensure you install the new battery in the same orientation. Gently remove the old battery and replace it with a new one of the correct type. These are typically small, button-cell batteries.
Reassembling Your Key Fob
After replacing the battery, carefully align the two halves of the key fob casing and press them firmly back together. You should hear a click, indicating that the case is securely closed. Ensure there are no gaps and that the fob feels solid. Finally, reinsert the manual key. Test the key fob buttons to confirm that it is working correctly. If your car responds, you’ve successfully opened and repaired your key fob!
Opening your key fob to replace the battery is a straightforward task that can save you time and money. By following these simple steps, you can easily maintain your key fob and ensure it continues to function reliably.