Is your car key fob refusing to cooperate? A dead battery is often the culprit, and thankfully, replacing it is a straightforward task you can handle yourself. Opening your key fob is the first step to restoring its functionality and avoiding the frustration of being locked out of your vehicle. This guide will walk you through the process of opening your key fob safely and efficiently, empowering you to tackle this common car maintenance task with confidence.
Before you begin, gather these simple tools:
- A small flathead screwdriver (or a similar thin, sturdy tool)
- A new battery of the correct type (check your owner’s manual or the old battery for the type – often CR2032 or CR2025)
- Your key fob
Now, let’s get started with opening your key fob.
Step-by-Step Guide to Opening Your Key Fob
Opening your key fob usually involves a couple of key steps. While designs can vary slightly between car manufacturers, the general principle remains the same.
Detach the Emergency Key
Most modern key fobs cleverly conceal a mechanical emergency key. This key is a backup in case your battery dies completely. Locating and detaching it is typically the first step in opening your key fob casing.
Look for a button or a small latch on your key fob, often metallic or a different color from the main fob body. Pressing or sliding this release mechanism will allow you to slide out the emergency key.
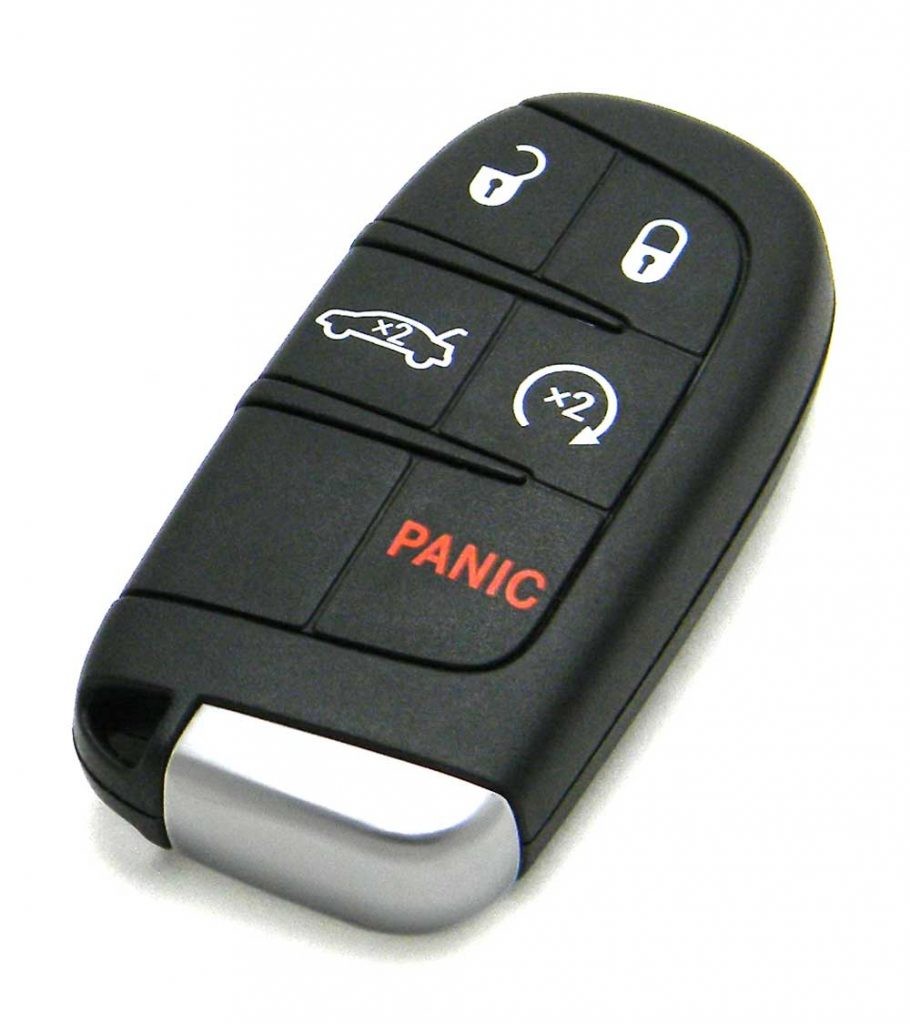
On the bottom of the key fob, the silver/gray part indicates the location of the removable emergency key, a crucial component when opening a key fob.
Once the emergency key is removed, you’ll often see the point where you need to begin prying open the key fob casing.
Pry Open the Fob Casing
With the emergency key removed, you’ll now be able to access the seam that runs around the key fob casing. This is where you’ll use your small flathead screwdriver (or similar tool) to gently pry the two halves of the fob apart.
Examine the fob closely. You should see a small notch or slot along the seam. This is the ideal spot to insert the tip of your screwdriver.
This image highlights the release button and the seam on the back of the key fob. This seam is where you will carefully insert a tool to pry open the key fob and gain access to the battery compartment.
Important Note: Be gentle! Key fob casings are usually made of plastic, and excessive force can damage them. Work your screwdriver around the seam gradually, applying gentle pressure to separate the two halves. You may hear a clicking sound as the clips holding the casing together release.
As shown here, use a small screwdriver to carefully wedge between the two halves of the key fob casing. This action initiates the process of opening a key fob to replace the battery.
If you encounter resistance, don’t force it. Re-examine the casing to ensure you’re prying at the correct point and apply pressure gradually. Sometimes, working your way around the entire seam little by little is more effective than focusing on one spot.
Replacing the Battery
Once you have successfully opened your key fob, you will see the battery compartment. Take a moment to observe how the old battery is positioned before removing it. Note the positive (+) and negative (-) sides. This will ensure you install the new battery correctly.
Gently remove the old battery. You may be able to pry it out with your small screwdriver or simply pop it out with your finger if there is enough space.
With the key fob now open, the battery is visible and accessible. Note the orientation of the battery before removing it to ensure correct placement of the new battery during replacement.
Insert the new battery, making sure the polarity (+ and -) matches the markings in the battery compartment.
Reassembling Your Key Fob
With the new battery in place, carefully align the two halves of the key fob casing. Press them firmly together until they snap back into place. You should hear a click, indicating that the casing is securely closed.
Finally, slide the emergency key back into the fob until it clicks into its locked position.
Test your key fob by pressing the lock and unlock buttons to ensure it’s working correctly. If everything is functioning as expected, you’ve successfully opened your key fob and replaced the battery!
Opening your key fob and changing the battery is a simple DIY task that can save you time and money. However, if you are uncomfortable performing this task yourself, or if you encounter any difficulties, the service professionals at Dale Howard Auto Center are always ready to assist. Contact us at 641-648-4695, or visit our YouTube channel for more helpful car maintenance videos.